-
Edit With Me
I edit using Adobe Bridge and Photoshop. The only thing I use Lightroom for is when I scan color negatives myself and convert with Negative Lab Pro.
I’ve edited an entire wedding with Bridge’s bulk tools and Photoshop’s actions.
Enjoy!
-
Get Dreamy Photos in an Ugly Spot
Using patience, editing, contrast, and light to get shots you love.

Do you love dreamy macro photos of flowers and nature, but don’t have a pretty yard? Right now in late summer, is when gardens start to die back and blooms vanish and yellow creeps into the plants. My garden was decimated by rabbits and deer this year so not a lot of prettiness, but I did find a spot!
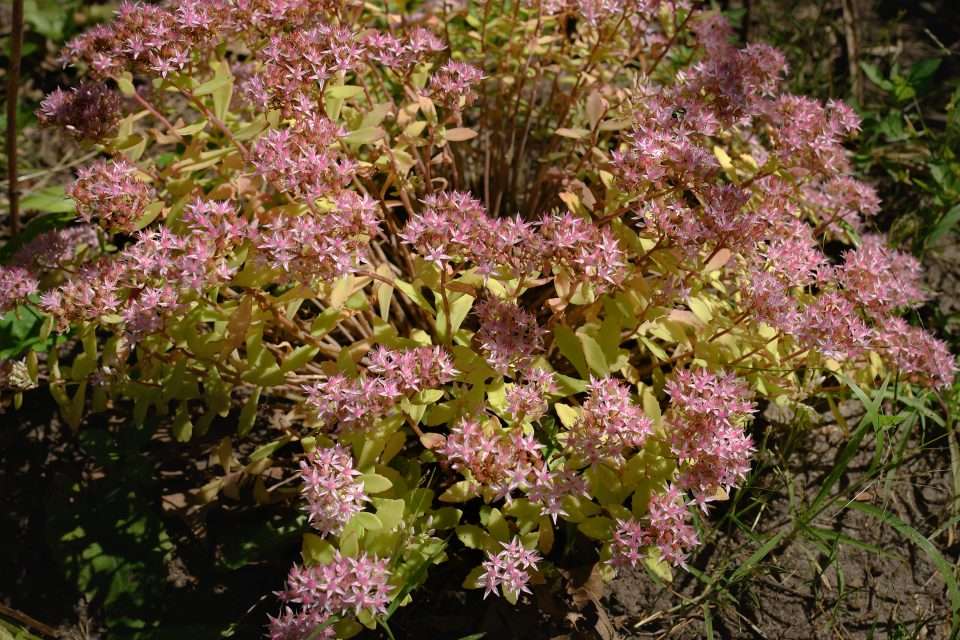
Here’s where I started
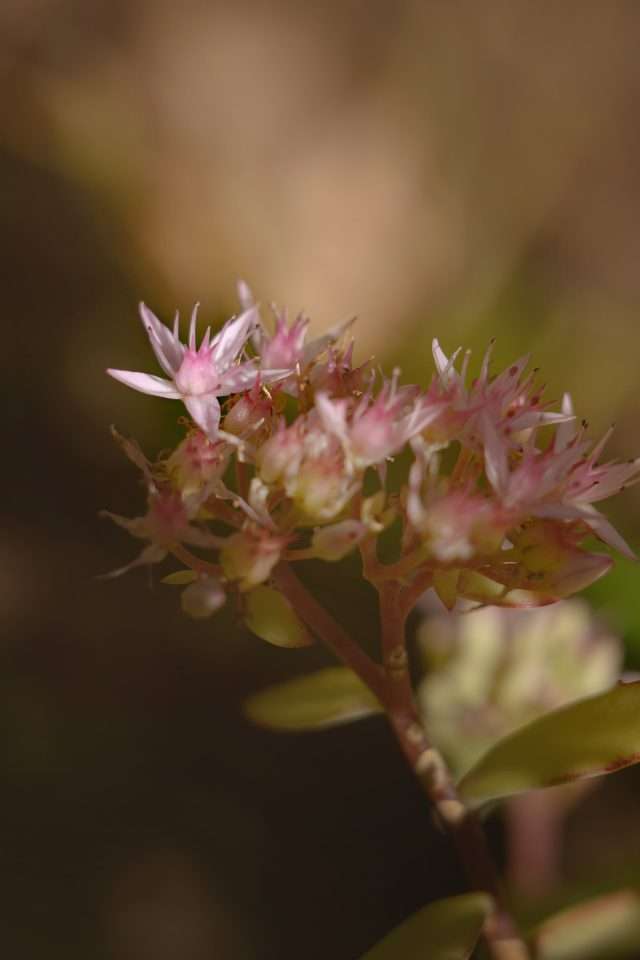
Not too bad, but not too good either. Bright overhead sun, no shade and dying plants, weeds and bare dirt. I was drawn to the contrast in the color but also the light. Harsh light is where you want to focus on contrasts in your composition. Here’s what I came up with!
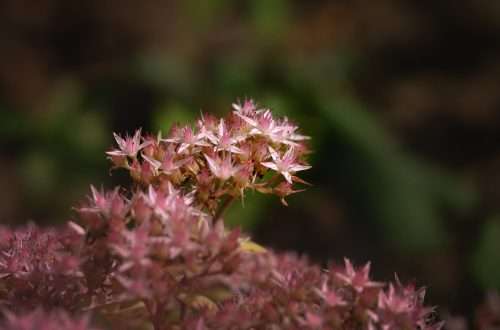
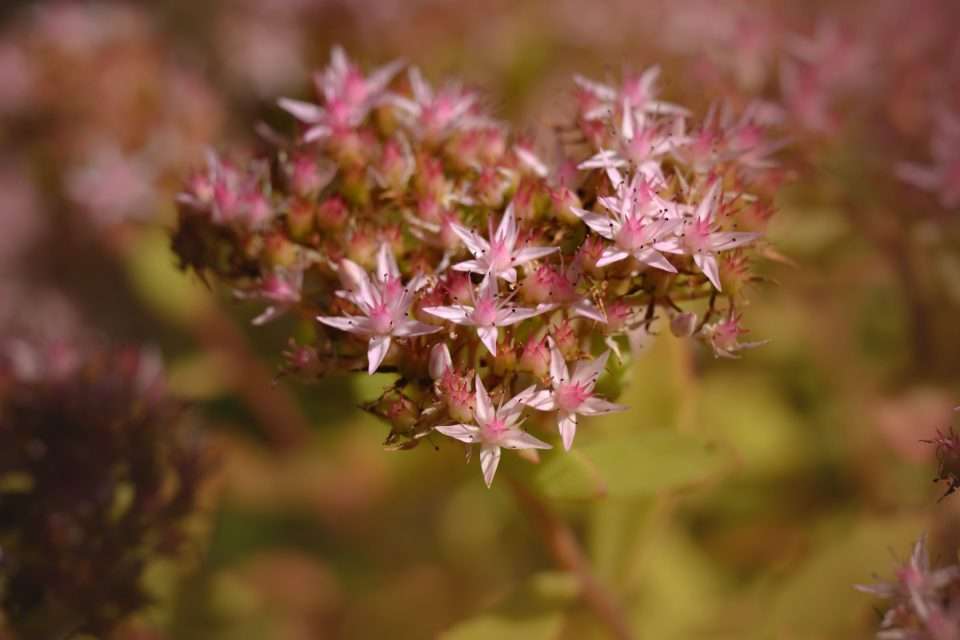
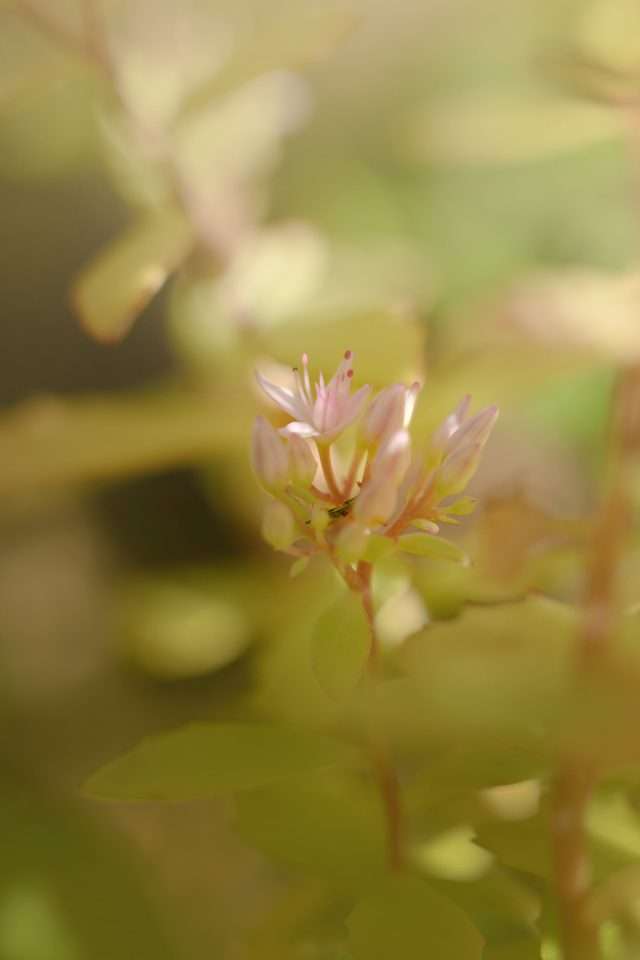
I really tried to focus on what drew me to the spot in the first place, contrast in the colors and the light. In the above photo you can see how the greenish yellow in the background sets the light pink flowers apart. Also helping is keeping the f-stop at f4 for more separation.
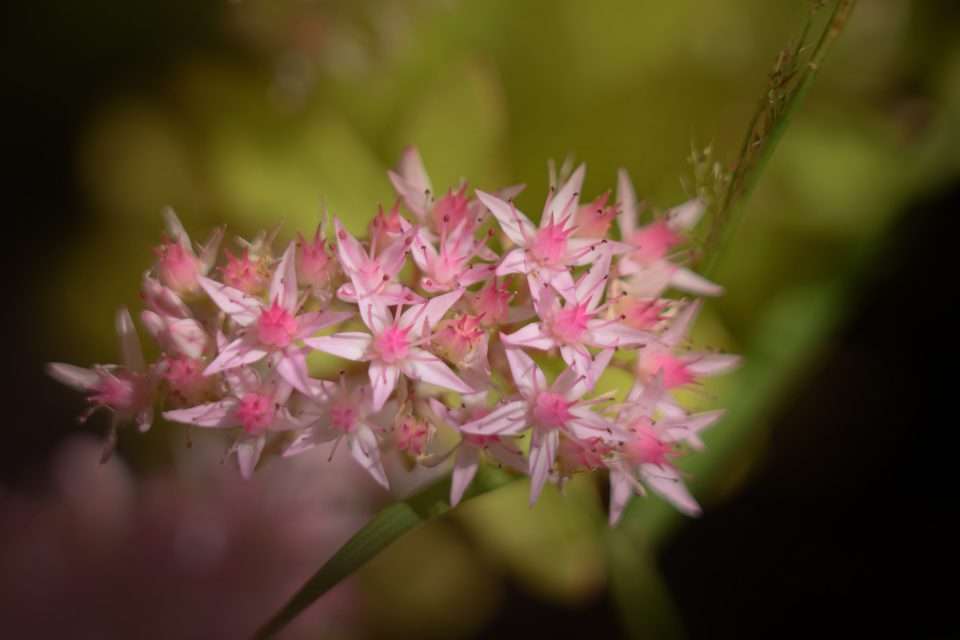
In the above photo I had a bright hotspot in the background. I used a radial gradient to smooth out the highlights as well as bringing down the contrast with levels adjustments and moving the output points.
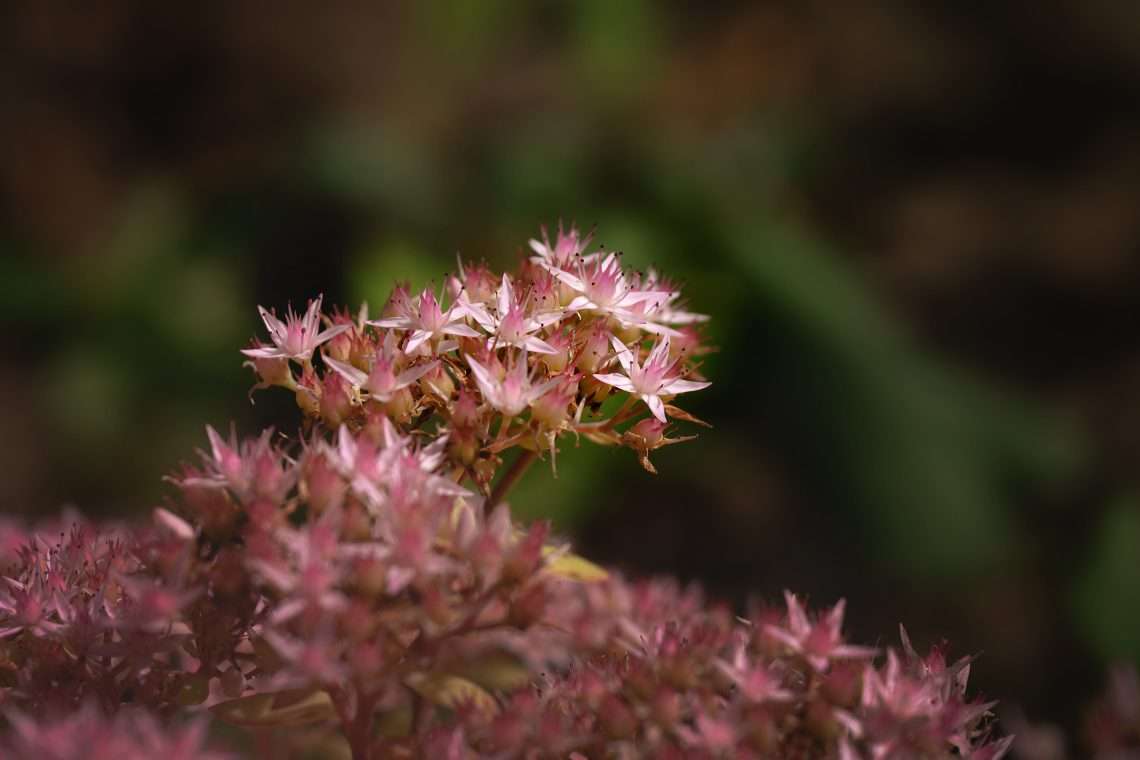
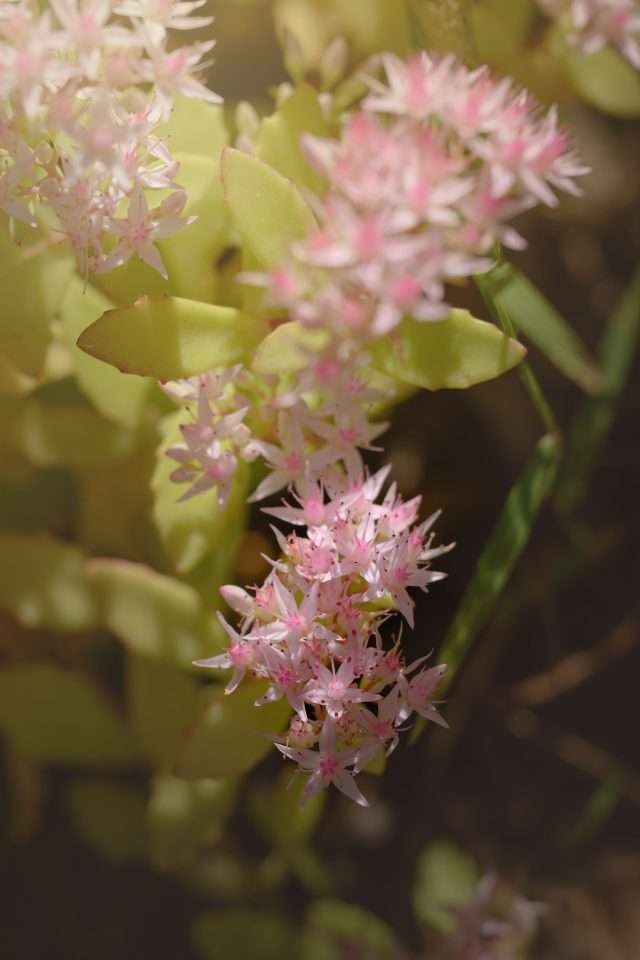
For this photo above we’ve got a bright green to contrast the light pink. I made sure my editing brought the contrast up on the flowers and down on the background. Human eyes love contrast so flattening out the areas I don’t want noticed is how I can emphasize the subject even more.
For this photo above I leaned into the bright light coming from the top left and used a radial gradient to add a bit more color to the light. This while pretty also flattened out the contrast in the brightest part of the photo.
Have patience too
I sat for about an hour, waiting for bugs to come and go. They were so very quick. I didn’t see many bumble bees or honey bees, but insects did visit while I was waiting.
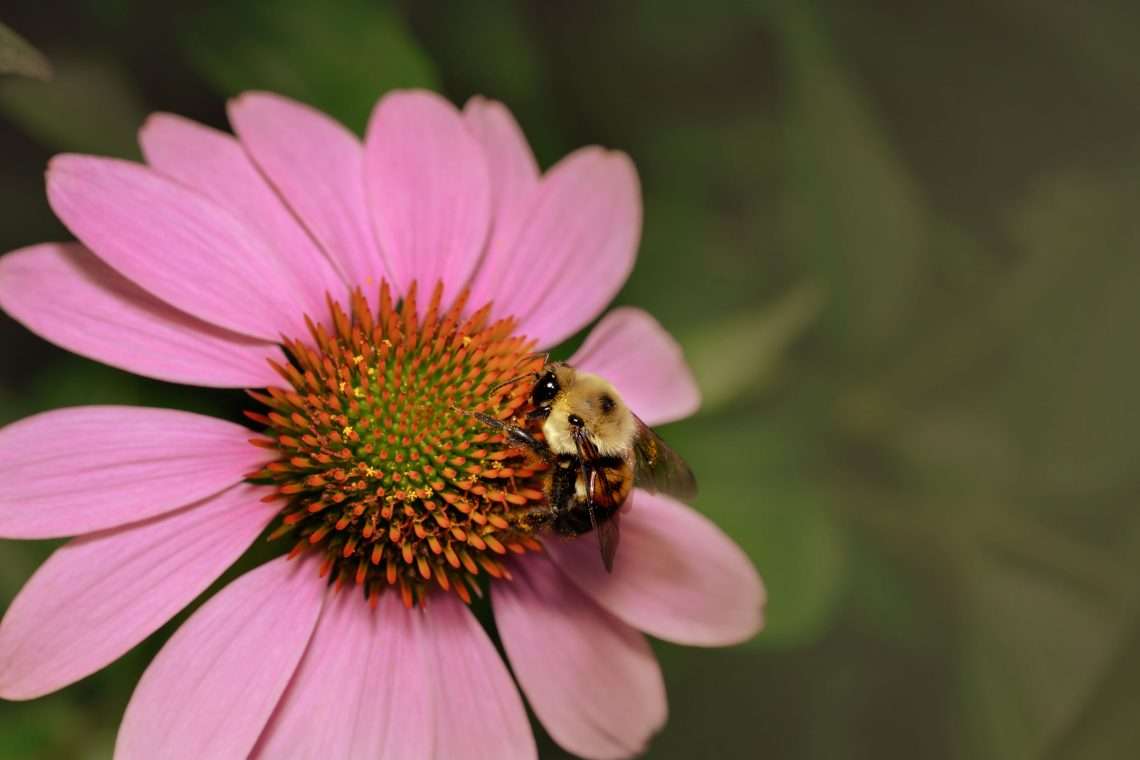
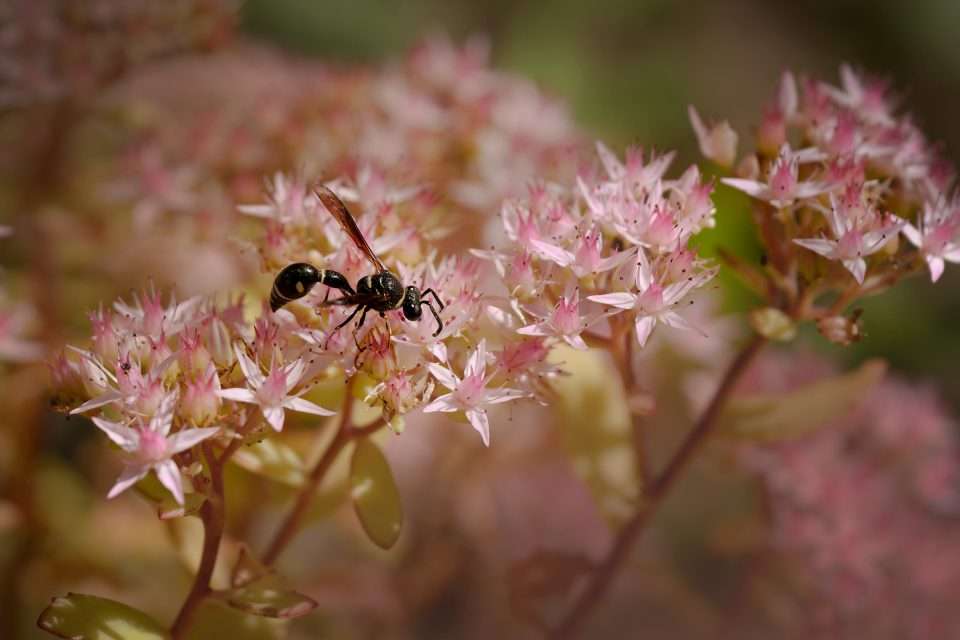
Here we have an angry stripey who wants to tastes the flowers. This photo also has lowered contrast and radial gradients to focus your eye to the insect. A nice this about photographing plants is that with a low f-stop you don’t have to worry about the background blobbines of the rest of the plant. This can give you a little freedom to play around with the unimportant parts of the photo.
I was using the Nikkor Z 24-120mm f4 that I picked up this spring. Only because I couldn’t get the lens cap off of the 105mm D I have on the Z-F adapter with my injured thumb. But, I am loving this lens! I’m planning on taking it with me when I visit the North Shore this fall. I did get the lens cap off the other lens and go for a quick stroll in the neighborhood but that’s a different post.
-
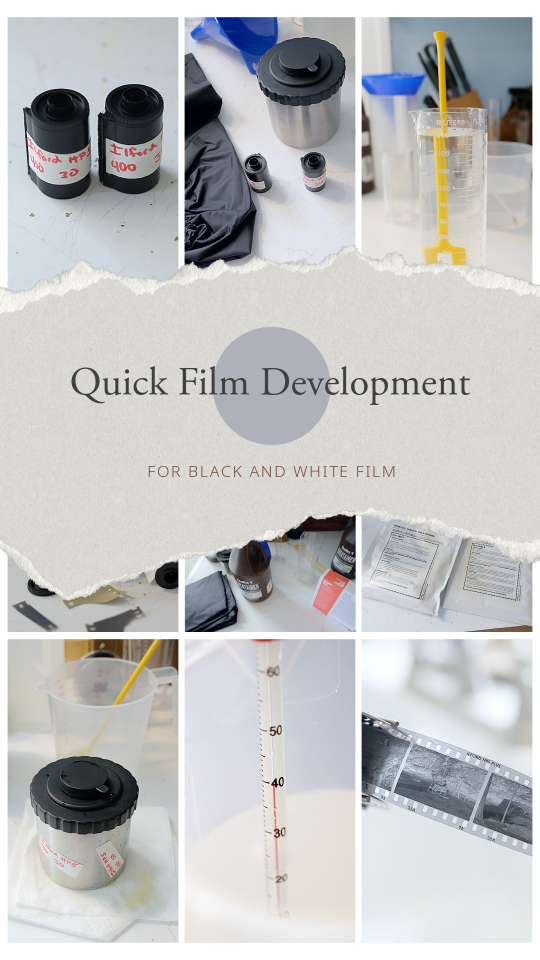
Real Quick Black and White Film Development
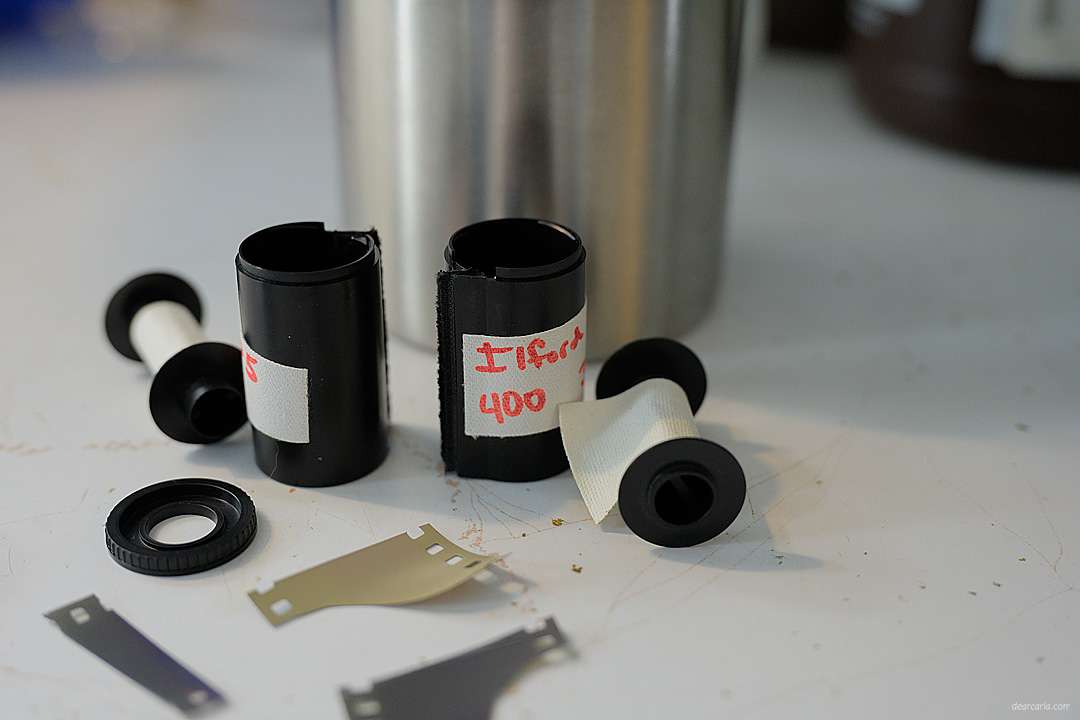
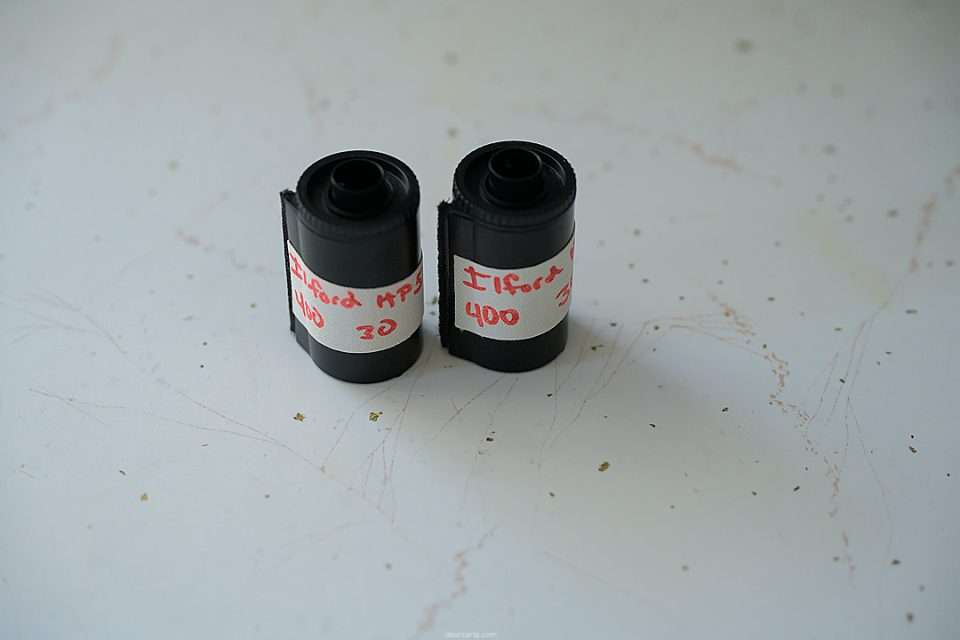
Usually send my film to a lab but I have bulk rolled Ilford HP5 that a friend and I shot. Let’s do a quick black and white film development post!
I am looking to change up my scanning setup. I’ve got a light panel on the way and I’ll pull out my macro lens and give that a try. And a new 3D printer to test out so I might make one of these! Fun times ahead!
Lets Get Started
Anyhoo I just have these two rolls to get done so using my metal tank was the way I went. I HATE loading Patterson reels and prefer metal Hewes reels. Plus I have to use my larger heavier dark bag with the Patterson tank. The only downside is my new tank lid leaks a bit so I’ve adjusted how I agitate and live with any mess.
How to Load a Metal Film Reel
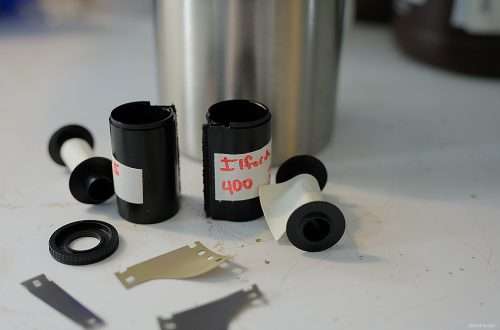
If you’ve ever wanted to know how to load a metal reel here’s what goes in inside the bag. This was one of my spring reels but pretty similar. My 120 reels are like this so it’s good to practice with the spring style. I’ve got some ruined film that I use to teach/practice on so you really have the technique down before doing it out of sight. And remember if you need a break and your hands are getting sweaty just pop the film into the tank with the lid and pull your hands out.
I Needed to Make More Developer
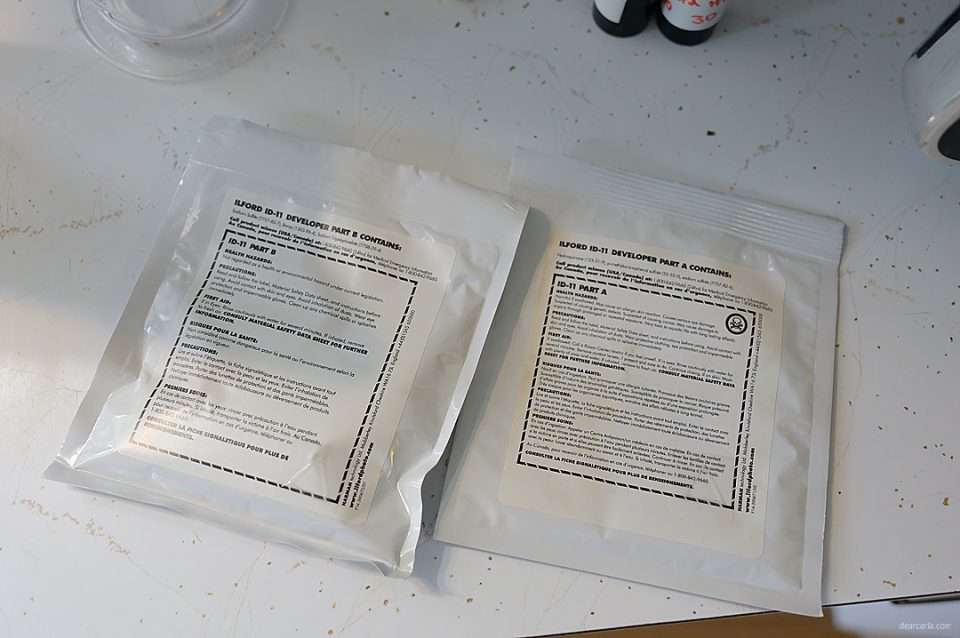
I ran out of developer so I picked up some Ilford ID-11 from National Camera Exchange when I was in the cities last. Mixed that up according to the very easy instructions. Letting it cool down was the longest part. Popped it into the datatainer, cooled it in a bath of cold water to speed it up a touch and keep it dark and out of too much air.
Find Your Information for the Timer
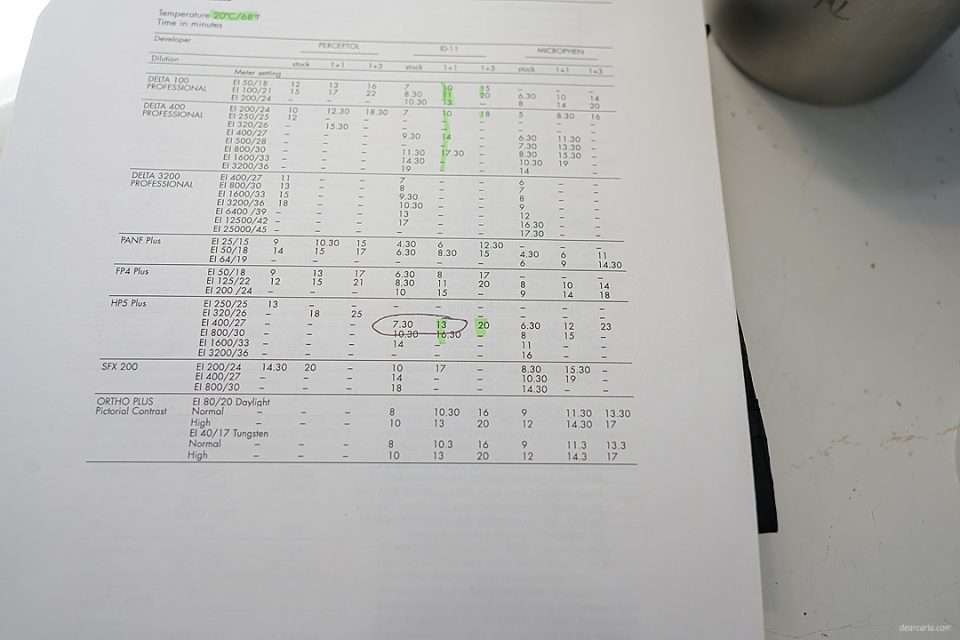
Found my developer and film in the handy info from Ilford and input that into my timer. I use the Dev It app. It’s in both app stores. It’s a really simple app and has a nice red light feature if you’re doing any printing. I’m going to be using a 1to1 ratio for my dilution so 13 minutes will be my dev time.
Everyone Into the Bag
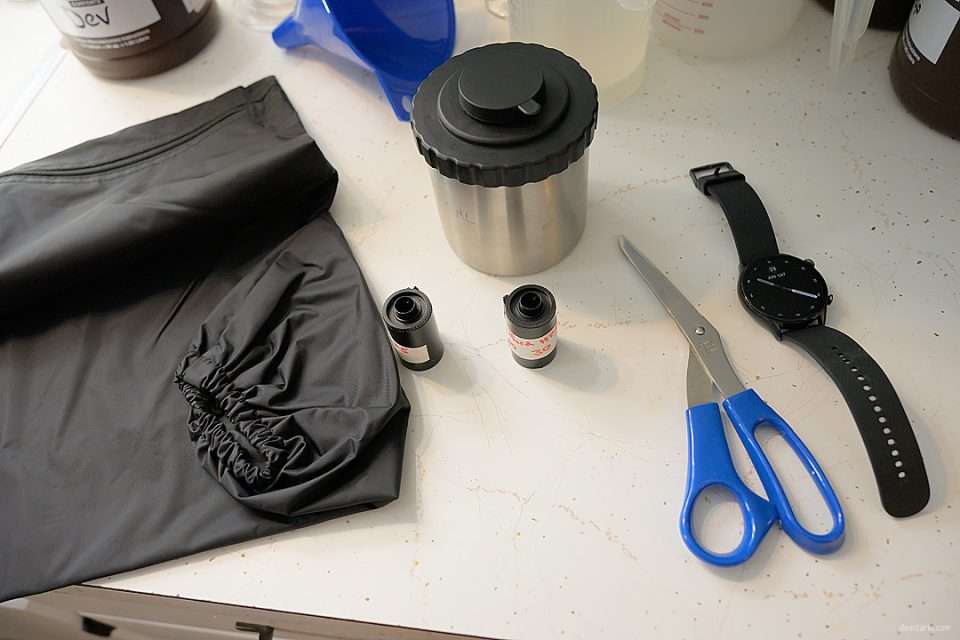
You’ll add your tank, reels, film canisters, film canister opener of your choice if you need one and a pair of scissors. Don’t forget to take off any smart devices so you don’t have light in your bag. Once inside with your arms, load your reels and close the tank lid. You are all set to add chemicals and see your images in about 30 minutes.
Test Your Fix
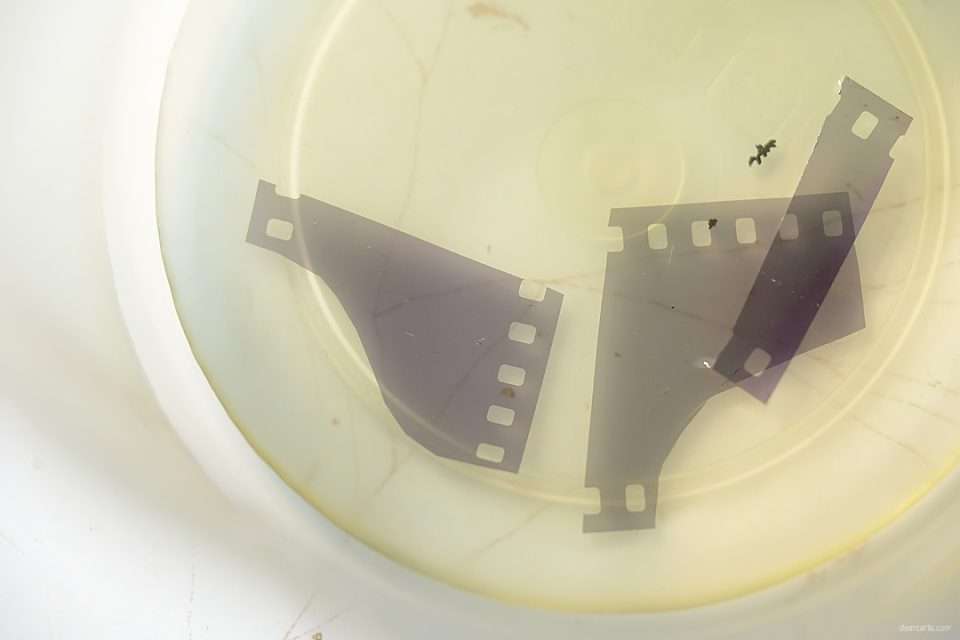
Fix is something that can go bad after a bunch of uses especially if you aren’t using a chemical stop bath. I like to test my fix and get an idea of a time for the fix step with the little bits of film leader I cut off in the dark bag. If your fix is still good then the leaders should be clear after a few minutes.
Make Up Your Dilution
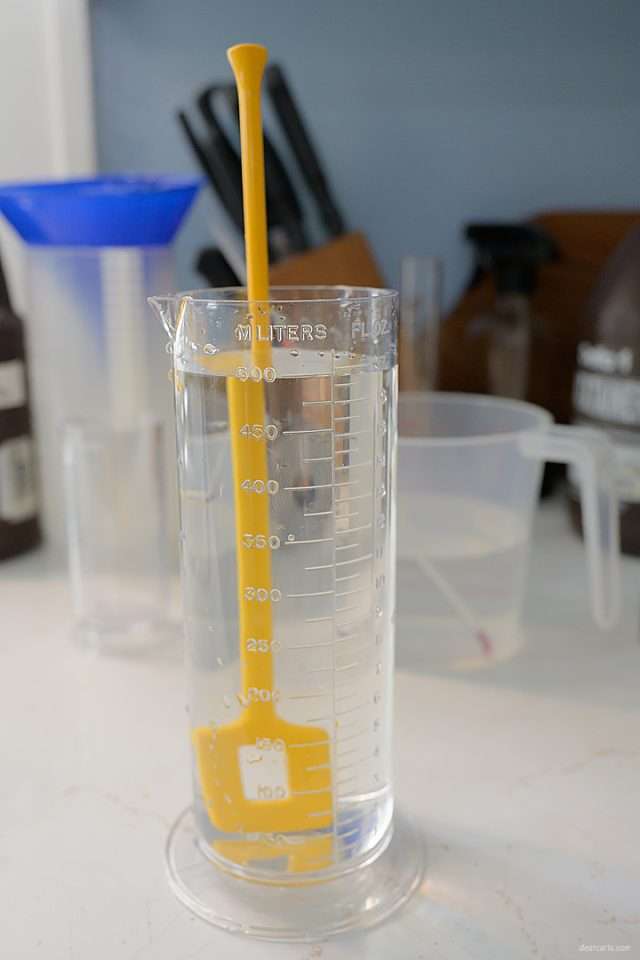
Here’s my dilution of developer. You want your tap water to be at 20 degrees celsius and left still for a bit for the aeration to settle out. Developer hates air and light and that can affect your final negative. I also have a bit of 20 degree plain water for my initial wash saved from when I was temping my water for the dilution.
Follow the Steps
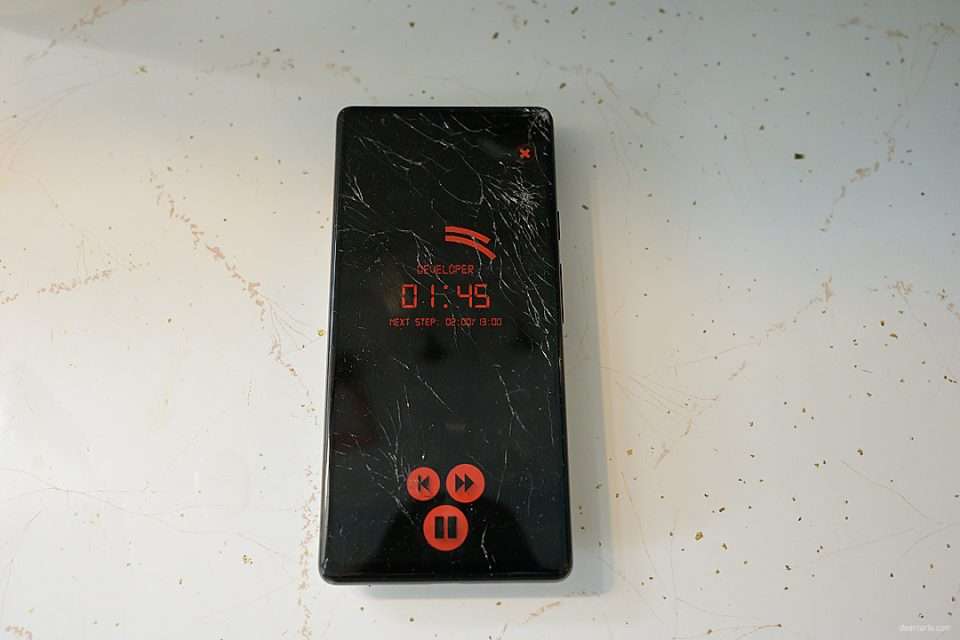
Follow your timer on a handy broken phone for when to pour out and add new chemicals for each step. I like to make sure I’m adding the chemicals in the same way for each step. For example I’ll start the timer and then add the chems to the tank but make sure to keep the chems in the tank until the timer beeps for the next step. If you add your chems first then start the timer make sure you are doing it the same way for each step. Either way works fine just pick one and stick with it. You’ll agitate the tank about once a minute or so, it depends on your developer and film but be consistent throughout the process. This developer is one time use so it can be dumped out at the end of the dev time. Your stop and fix can be reused until exhausted so put them back into your containers when the step is done.
Finally Images
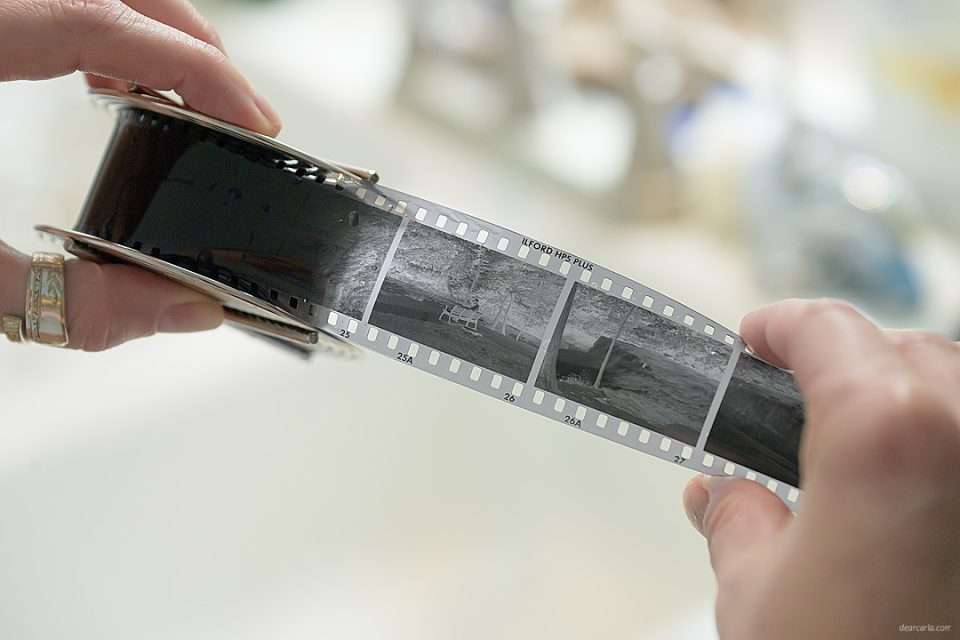
Huge success you have images! Once you are on the final wash step you can pull a bit of film out to check and see if your hard work paid off. After a good wash you can hang your film to dry in a nice safe space so the images don’t get scared and move onto scanning them when dry. My scanning process is in flux so that will be another post.
Clean Up Your Things
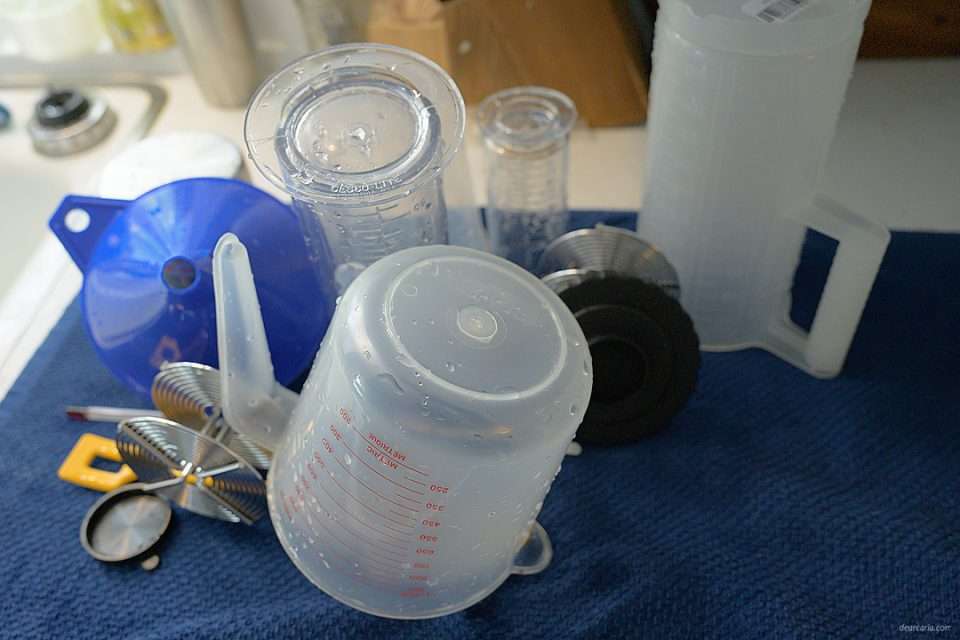
Give your tools a good clean and dry and put them away and you’re all done!
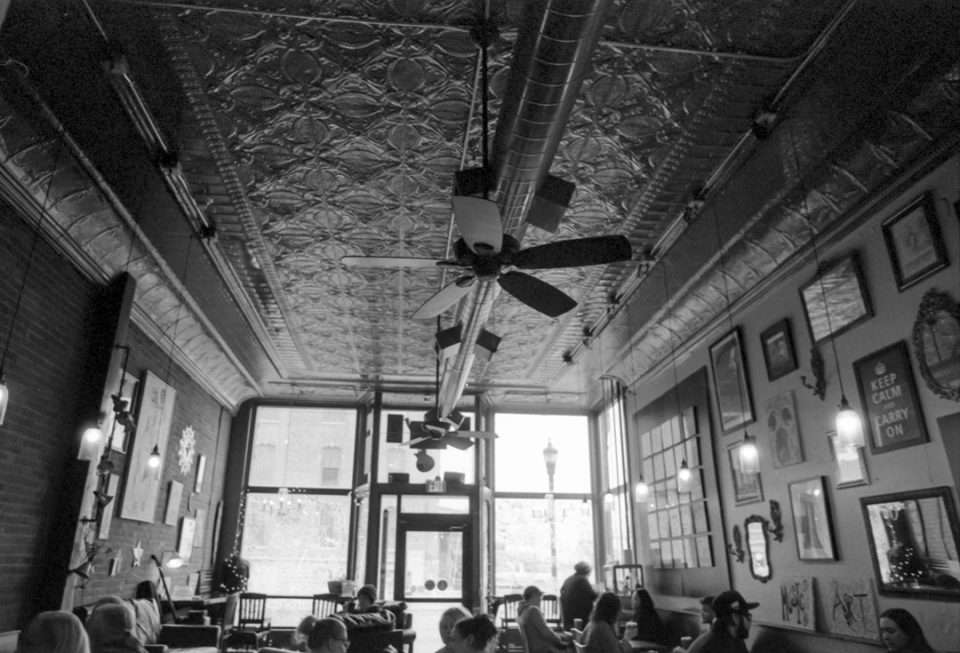
Images From the Roll
-
When You Live In a Boring Place
Finding cool things to photograph where you live can be the ultimate level up for your art. As someone from out of town coming to your dull village I would probably find it quaint and interesting. I would see stimulating details that are refreshing to shoot.
Where I live can be dull and boring and I don’t like “going out and shooting something cool”. But I know that every time I try I become a better photographer. The best way to get your brain in the game for this task is to pretend that you have been given an assignment from a publisher and an angle to shoot from.
Some examples could be; find the best bakery, or small mom and pop restaurant, find the best AirBnb or kitschy motel, find the craziest car or truck someone has mod-ed. You could also do the traditional photo class route and hunt shadows or lines. Find reflections and color contrasts can strengthen your eye.
Another way to challenge yourself is with your choice of gear. Try a telephoto with small and large depth of field. Or a wide-angle and see how close you can get to people. You can also focus on lighting people with window light or open doors.
The most important thing you can do is shoot everyday. Making your boring corner of the world the next Instagram hotspot can be a skill in your back pocket for the rest of your life.
-
The Inevitable
We have all had it hit us, a creative block. Some point we feel meh with our photography. I’ve encountered more creative blocks than I care to count. I know how frustrating it can be to try and break out of a rut and get caught up being critical. When this sort of thing happens, there are several ways to approach it.
Stop Trying So Hard
I think this has been one of the hardest things I’ve had to learn. But I can’t stress this one enough. It’s easier said than done, but one of the best things you can do for yourself is to stop trying so hard. Let go. If you need to step away from your camera for a little bit, by all means take a break! Just do it. Sometimes stepping away from something for a while can not only be refreshing but just the thing you need to break out of a creative rut.
Revisit Old Images
Go back and look at some of your old work. Edit old images that you may have overlooked previously. This is one way to help draw inspiration
and possibly spark new ideas. Re-editing a photo that you’ve previously thought was spectacular is a fun exercise. I know I’ve changed my style over the years and seeing the proof in one photo that I love can be motivating.Visit A New Location
Go location scouting, plan an excursion to a place you have never visited or a place you haven’t visited in a while! Head out for a day and discover new locations. I often hop in our vehicle and just drive around with the kids.
I have a personal Google Map that has all my locations mapped. I visit them and update my listings and make notes. I bring the kids and we all have fun.
Try Something New
This is one of my favorite ways to break out of a photography rut. If I feel like the work I’m producing isn’t very versatile, I try something new. Try copying a photo you’ve seen in a commerical, album cover or Instagram. My favorite subjects to photograph are my boys, but I often take breaks from photographing them to try out something different.
Film
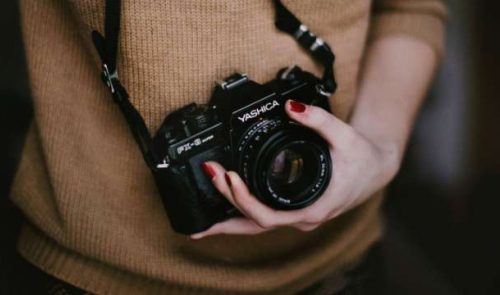
Return to or get started in film. Flagship film cameras from all major manufactures are cheap on Ebay now days. Grab a roll of 400 speed C-41 or B&W film and get to work learning a new medium. You can get as in-depth as a home darkroom and scanning negatives or just sending off your film and get back the digital files from a lab. Shooting film can reignite your passion for capturing images.
Macro.
I’ve taken out my macro lens to capture nature shots or portraits. I love documenting eyelashes. I typically have to raise my ISO more often then I would with other lenses. This is where auto-ISO comes in handy. Don’t forget to also try macro with and without a flash
In-Camera Double Exposure.
I’ve researched how to process an in-camera double exposure for my camera and spent an entire day devoted to trying it out. Not all cameras have this ability, but it’s where your camera basically layers multiple images on top of each other. Check your camera’s manual to find out if yours has this capability.
Free-lensing.
I’ve taken out my 50mm to try my hand at free-lensing and still photography. Free-lensing (or poor man’s tilt-shift/macro) is where you detach your lens from your camera, hold in place with your hand and tilt. It creates a small, tilted focal plane where most of the image is blurry. I use my backup camera though as I’m paranoid about dust.
Draw Inspiration From the Art World
Drawing inspiration from things other than photography is another great way to escape a creative block. Study art by visiting a museum or online, and really study it… don’t just glance at it. Learn the lighting of a famous painting. Another idea is to watch a movie or listen to music. Try to recreate the feeling in a photograph.
Draw Inspiration From Other Photographers
We all have photographers that we look up to. Study their work and discover what you love about their work so much. A couple of mine are Regina Pagles and John Keatly. Get lost in a photography forum. There is practically an endless amount of tutorials, photography tips, on them that can help you break out of a creative rut.
Draw Inspiration From Your Family
Challenge yourself to capture your everyday, and include yourself in the frame. Remember to change your angles to include different perspectives and feelings. Follow a day in the life for an inanimate lovey of one of your kids. Try an immersion study with one of your children and follow them around all day capturing their daily routine.
Just know that it’s ok to take a break from your camera if you need it. I know there’s a lot of pressure to consistently create. Sometimes the photos I love the most have little to do with perfect light and composition, and more about a specific moment in time that means far more to me than anyone else can see just by looking at the image.
Remember art and creating is all about how it makes us feel.