Real Quick Black and White Film Development
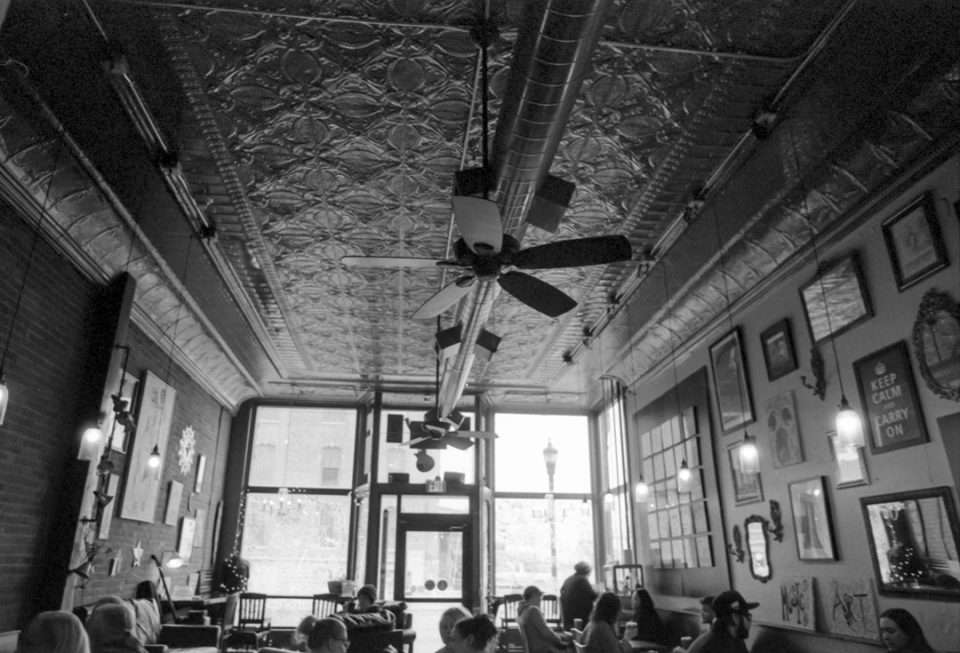
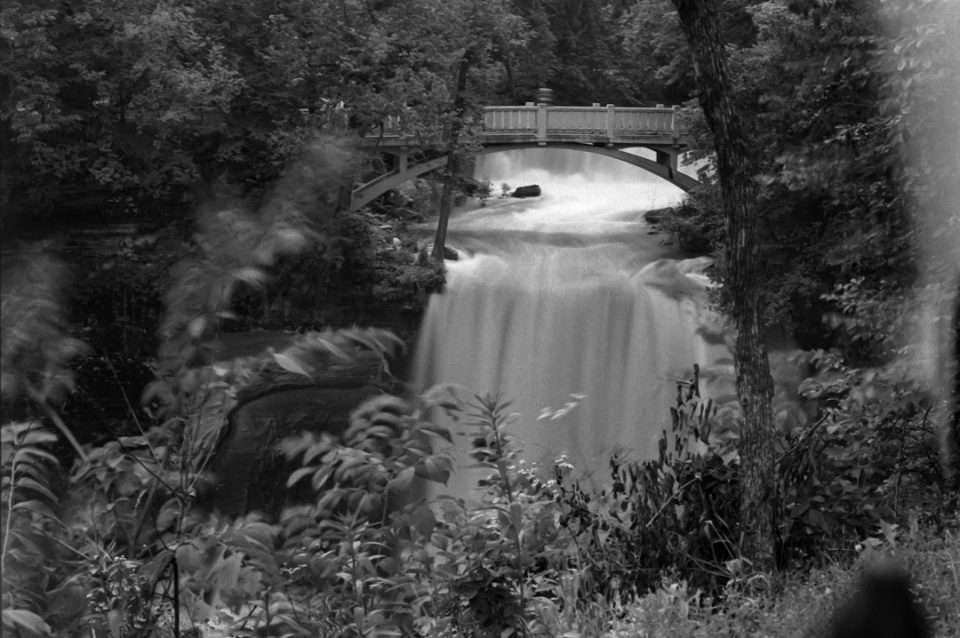
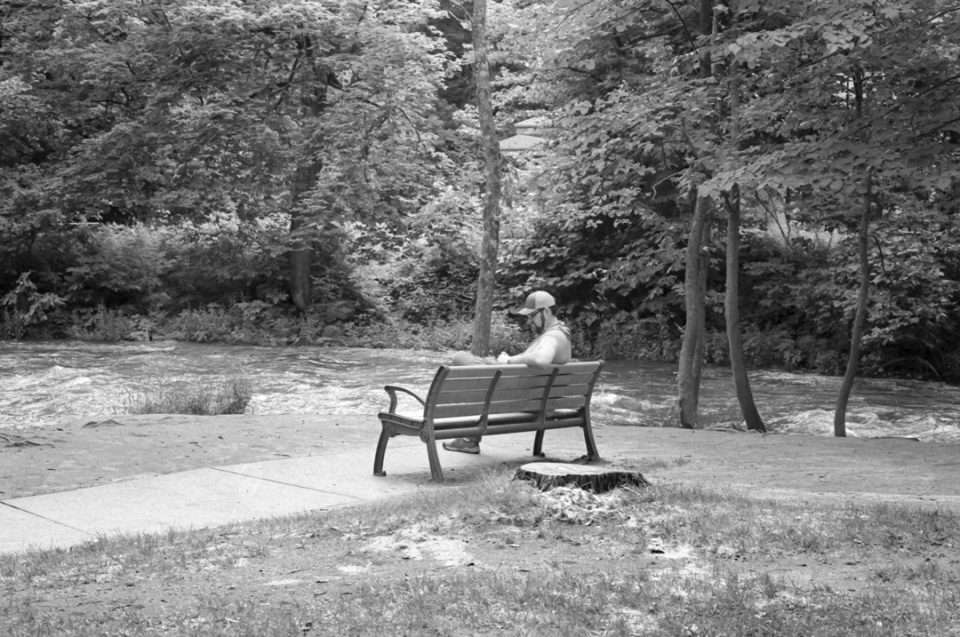
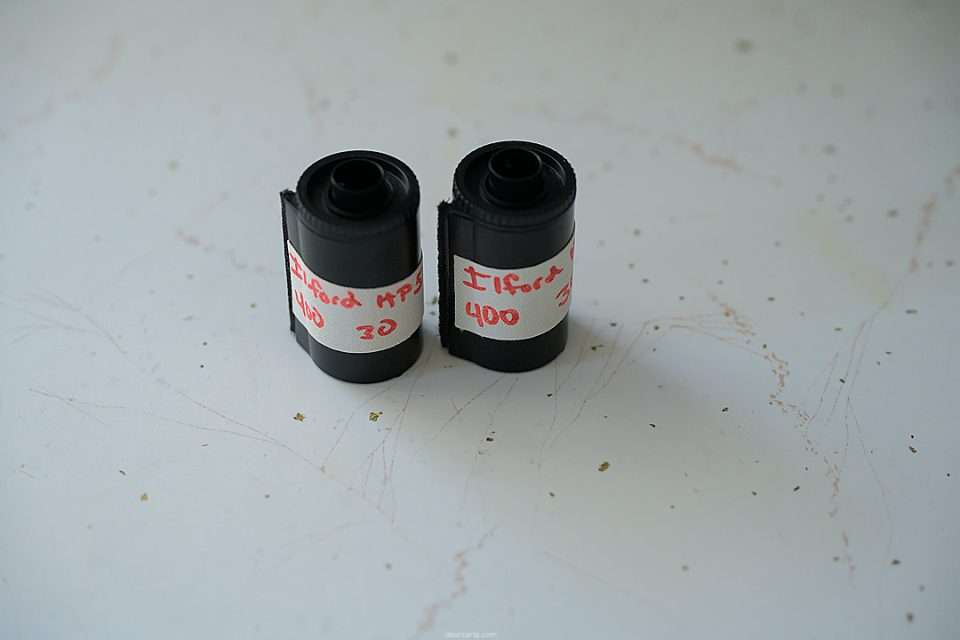
Usually send my film to a lab but I have bulk rolled Ilford HP5 that a friend and I shot. Let’s do a quick black and white film development post!
I am looking to change up my scanning setup. I’ve got a light panel on the way and I’ll pull out my macro lens and give that a try. And a new 3D printer to test out so I might make one of these! Fun times ahead!
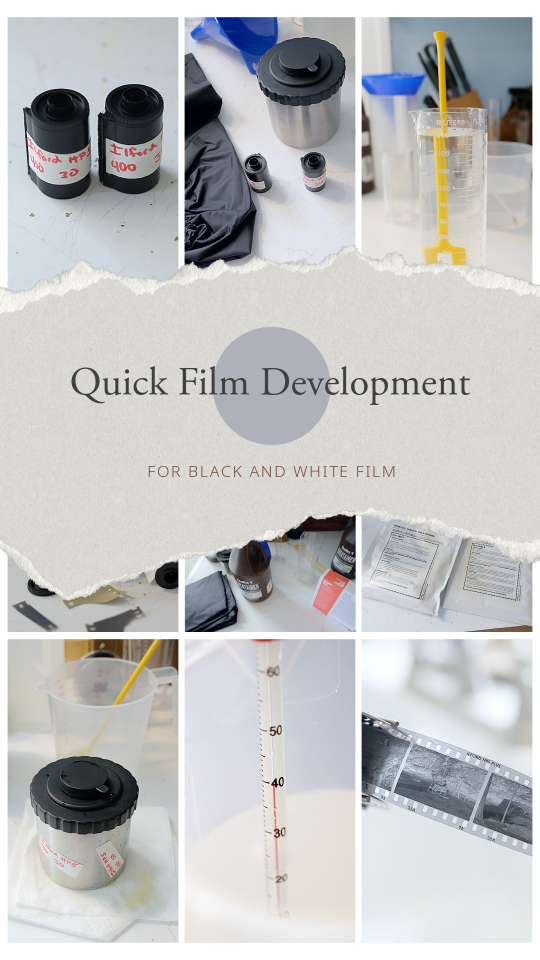
Lets Get Started
Anyhoo I just have these two rolls to get done so using my metal tank was the way I went. I HATE loading Patterson reels and prefer metal Hewes reels. Plus I have to use my larger heavier dark bag with the Patterson tank. The only downside is my new tank lid leaks a bit so I’ve adjusted how I agitate and live with any mess.
How to Load a Metal Film Reel
If you’ve ever wanted to know how to load a metal reel here’s what goes in inside the bag. This was one of my spring reels but pretty similar. My 120 reels are like this so it’s good to practice with the spring style. I’ve got some ruined film that I use to teach/practice on so you really have the technique down before doing it out of sight. And remember if you need a break and your hands are getting sweaty just pop the film into the tank with the lid and pull your hands out.
I Needed to Make More Developer
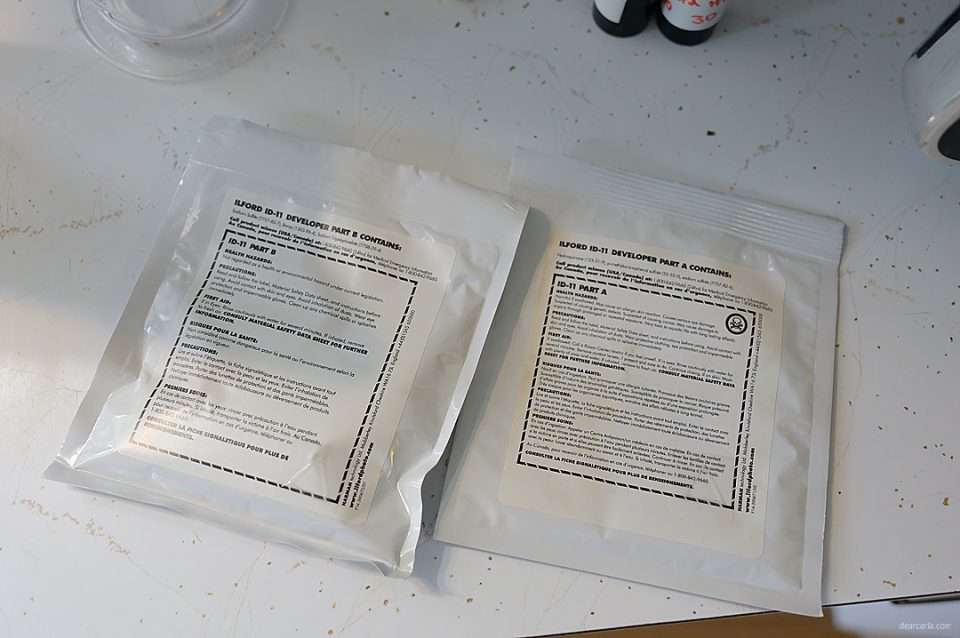
I ran out of developer so I picked up some Ilford ID-11 from National Camera Exchange when I was in the cities last. Mixed that up according to the very easy instructions. Letting it cool down was the longest part. Popped it into the datatainer, cooled it in a bath of cold water to speed it up a touch and keep it dark and out of too much air.
Find Your Information for the Timer
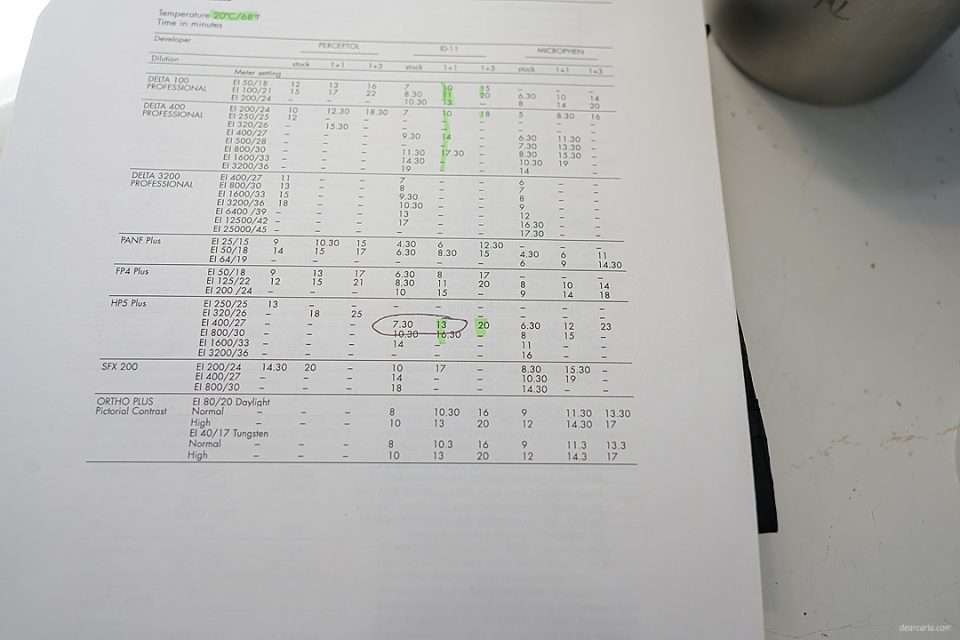
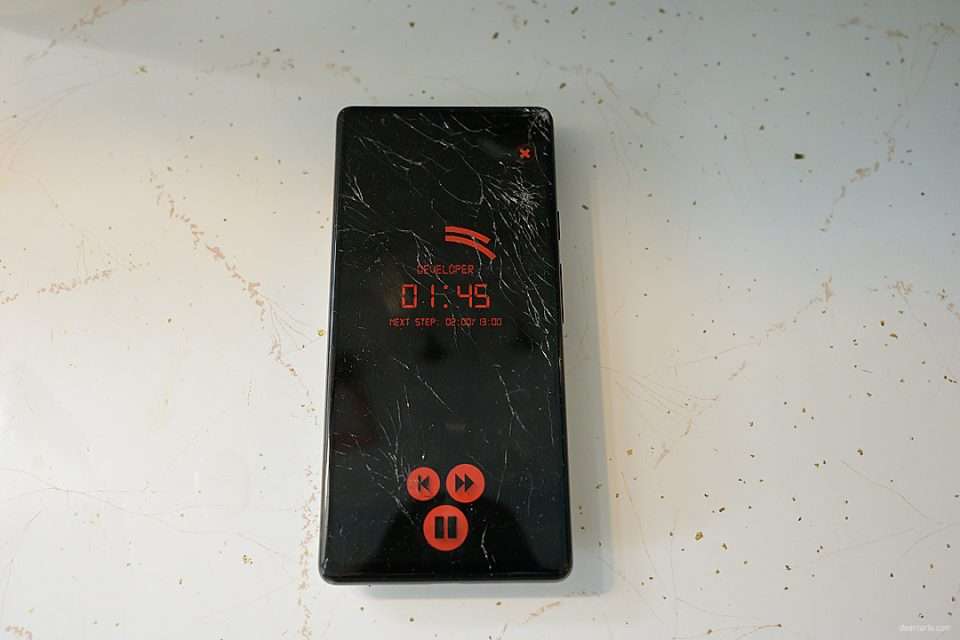
Found my developer and film in the handy info from Ilford and input that into my timer. I use the Dev It app. It’s in both app stores. It’s a really simple app and has a nice red light feature if you’re doing any printing. I’m going to be using a 1to1 ratio for my dilution so 13 minutes will be my dev time.
Everyone Into the Bag
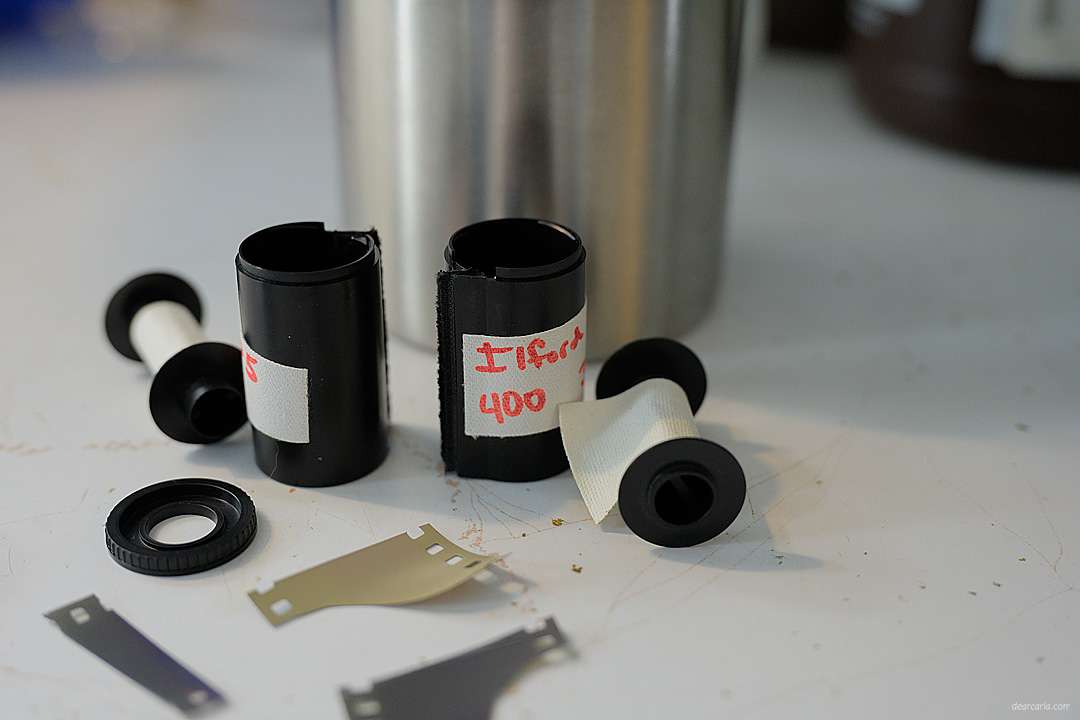
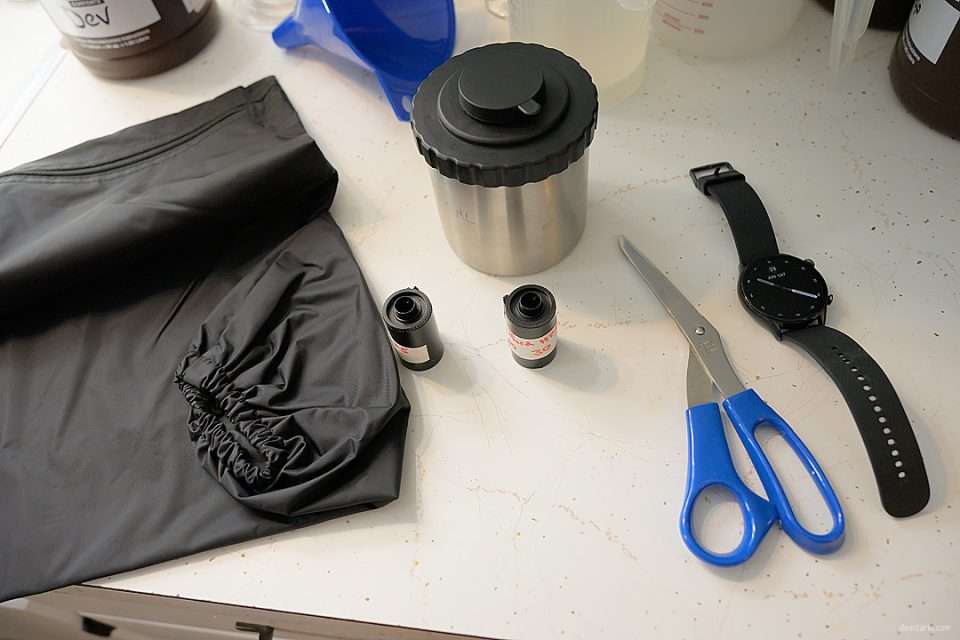
You’ll add your tank, reels, film canisters, film canister opener of your choice if you need one and a pair of scissors. Don’t forget to take off any smart devices so you don’t have light in your bag. Once inside with your arms, load your reels and close the tank lid. You are all set to add chemicals and see your images in about 30 minutes.
Test Your Fix
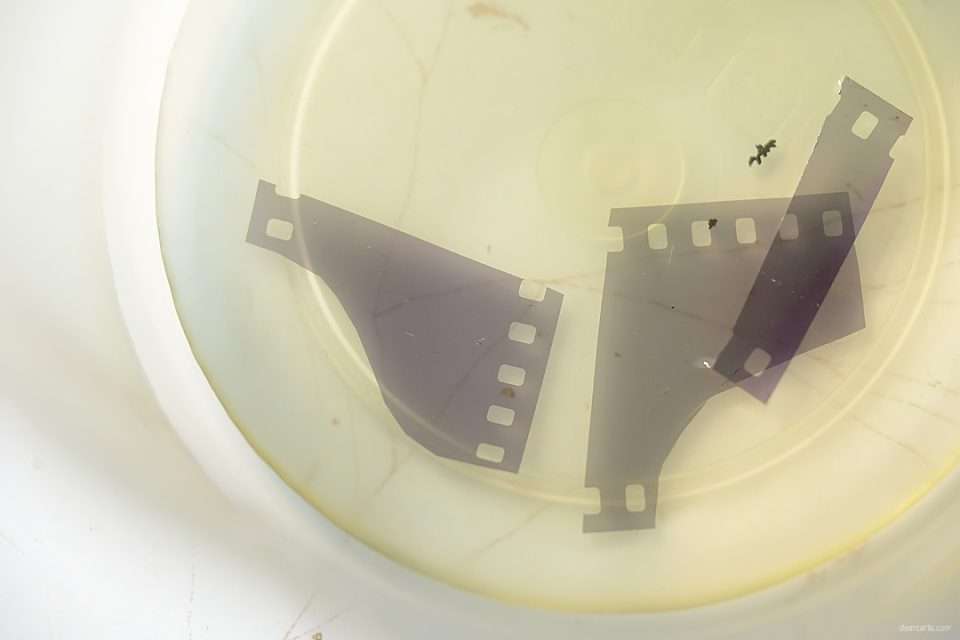
Fix is something that can go bad after a bunch of uses especially if you aren’t using a chemical stop bath. I like to test my fix and get an idea of a time for the fix step with the little bits of film leader I cut off in the dark bag. If your fix is still good then the leaders should be clear after a few minutes.
Make Up Your Dilution
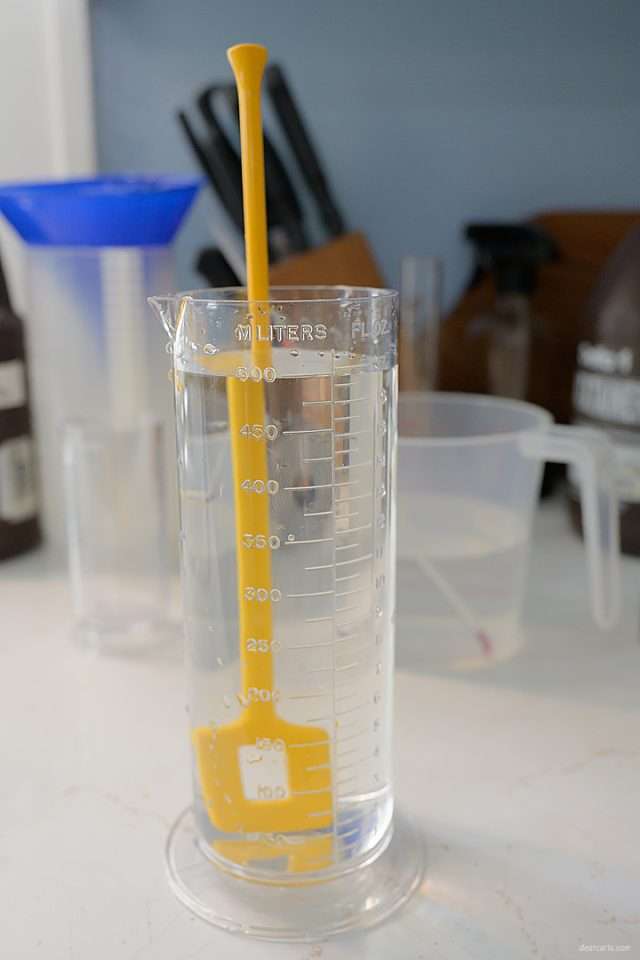
Here’s my dilution of developer. You want your tap water to be at 20 degrees celsius and left still for a bit for the aeration to settle out. Developer hates air and light and that can affect your final negative. I also have a bit of 20 degree plain water for my initial wash saved from when I was temping my water for the dilution.
Follow the Steps
Follow your timer on a handy broken phone for when to pour out and add new chemicals for each step. I like to make sure I’m adding the chemicals in the same way for each step. For example I’ll start the timer and then add the chems to the tank but make sure to keep the chems in the tank until the timer beeps for the next step. If you add your chems first then start the timer make sure you are doing it the same way for each step. Either way works fine just pick one and stick with it. You’ll agitate the tank about once a minute or so, it depends on your developer and film but be consistent throughout the process. This developer is one time use so it can be dumped out at the end of the dev time. Your stop and fix can be reused until exhausted so put them back into your containers when the step is done.
Finally Images
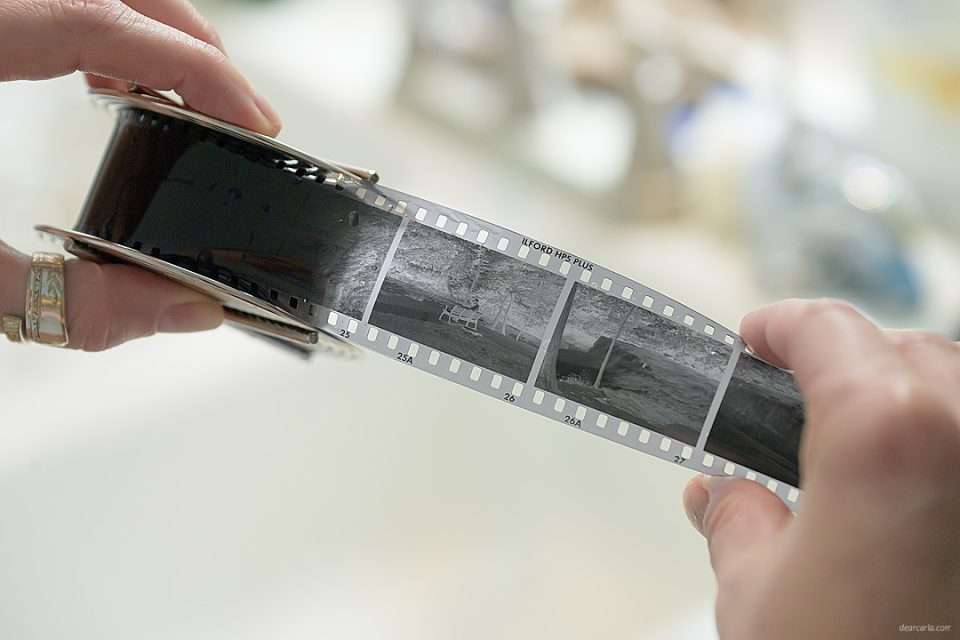
Huge success you have images! Once you are on the final wash step you can pull a bit of film out to check and see if your hard work paid off. After a good wash you can hang your film to dry in a nice safe space so the images don’t get scared and move onto scanning them when dry. My scanning process is in flux so that will be another post.
Clean Up Your Things
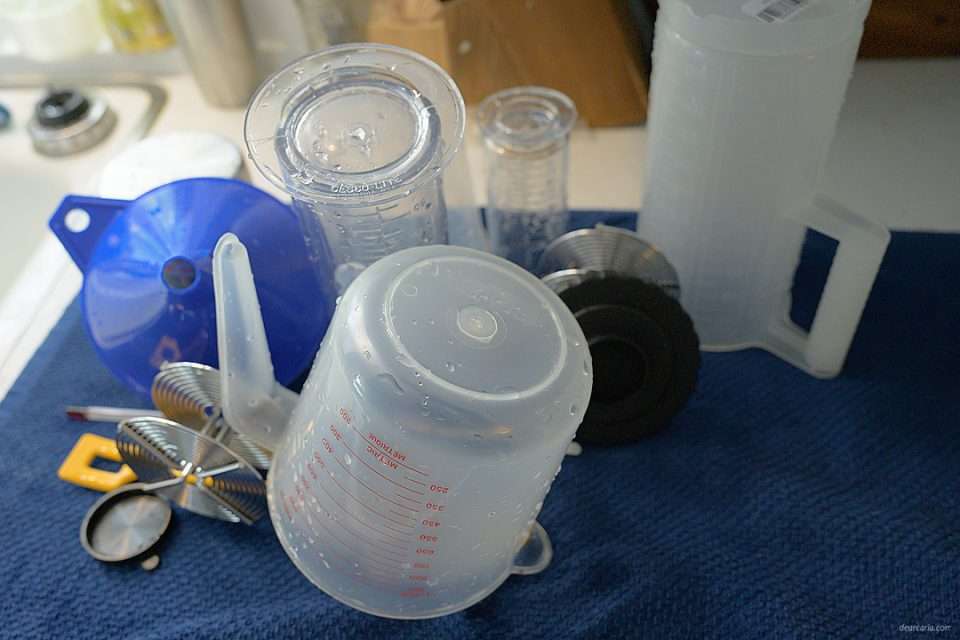
Give your tools a good clean and dry and put them away and you’re all done!
Images From the Roll