-
Real Quick Black and White Film Development
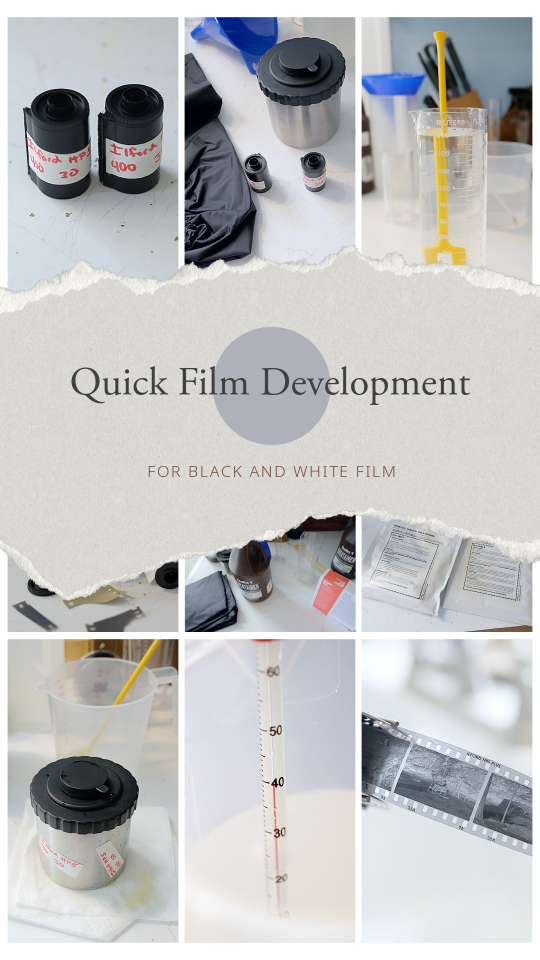
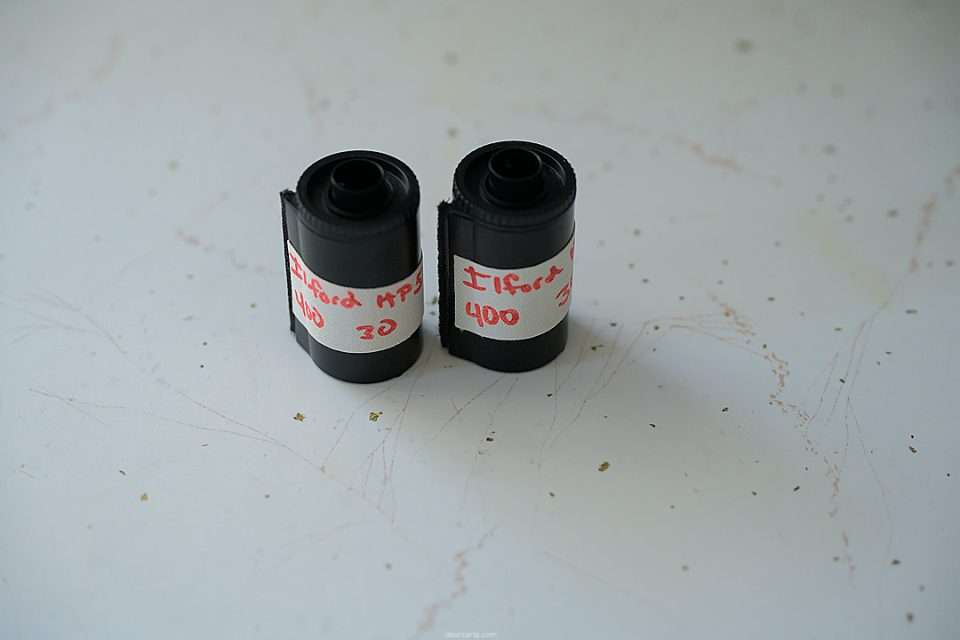
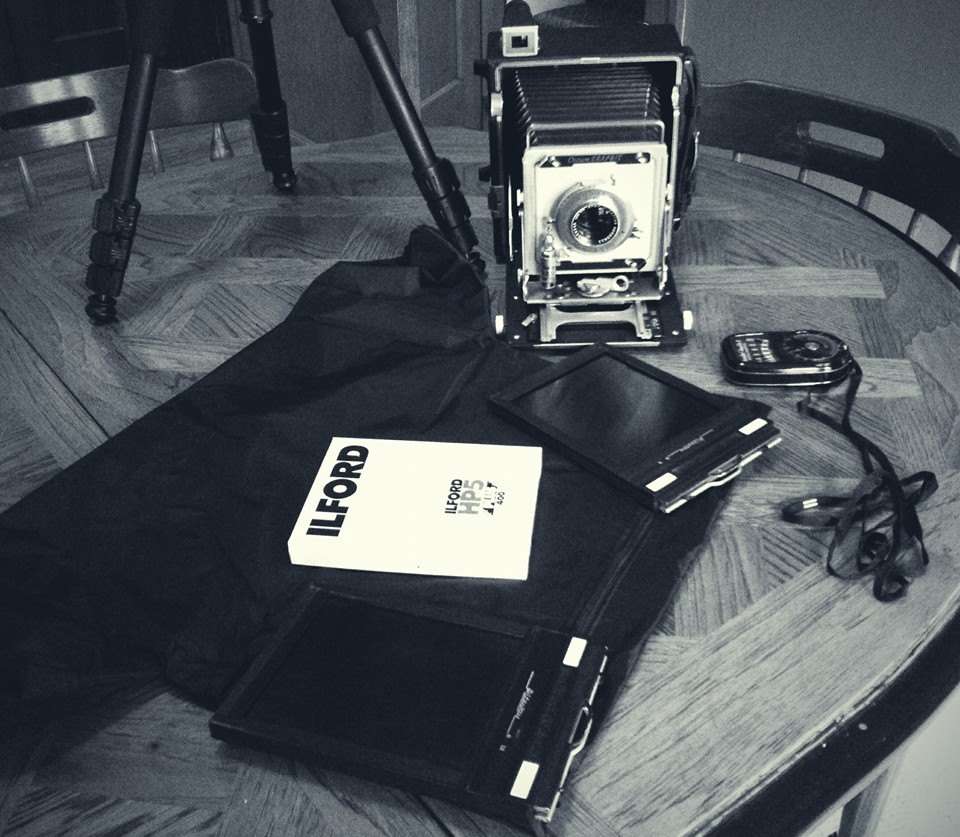
Usually send my film to a lab but I have bulk rolled Ilford HP5 that a friend and I shot. Let’s do a quick black and white film development post!
I am looking to change up my scanning setup. I’ve got a light panel on the way and I’ll pull out my macro lens and give that a try. And a new 3D printer to test out so I might make one of these! Fun times ahead!

Lets Get Started
Anyhoo I just have these two rolls to get done so using my metal tank was the way I went. I HATE loading Patterson reels and prefer metal Hewes reels. Plus I have to use my larger heavier dark bag with the Patterson tank. The only downside is my new tank lid leaks a bit so I’ve adjusted how I agitate and live with any mess.
How to Load a Metal Film Reel
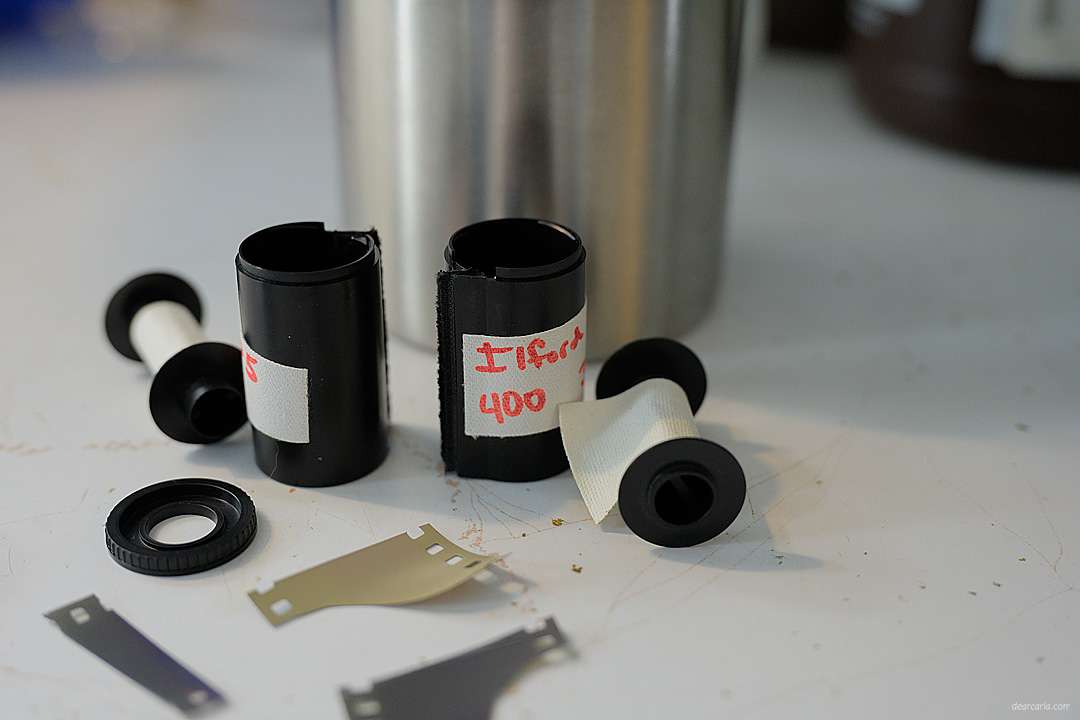
If you’ve ever wanted to know how to load a metal reel here’s what goes in inside the bag. This was one of my spring reels but pretty similar. My 120 reels are like this so it’s good to practice with the spring style. I’ve got some ruined film that I use to teach/practice on so you really have the technique down before doing it out of sight. And remember if you need a break and your hands are getting sweaty just pop the film into the tank with the lid and pull your hands out.
I Needed to Make More Developer
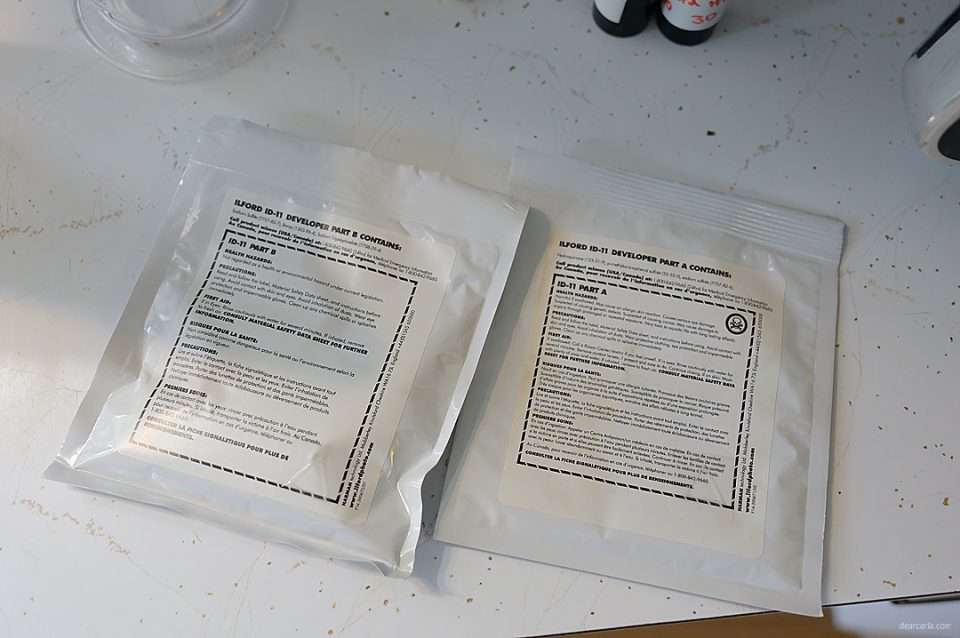
I ran out of developer so I picked up some Ilford ID-11 from National Camera Exchange when I was in the cities last. Mixed that up according to the very easy instructions. Letting it cool down was the longest part. Popped it into the datatainer, cooled it in a bath of cold water to speed it up a touch and keep it dark and out of too much air.
Find Your Information for the Timer
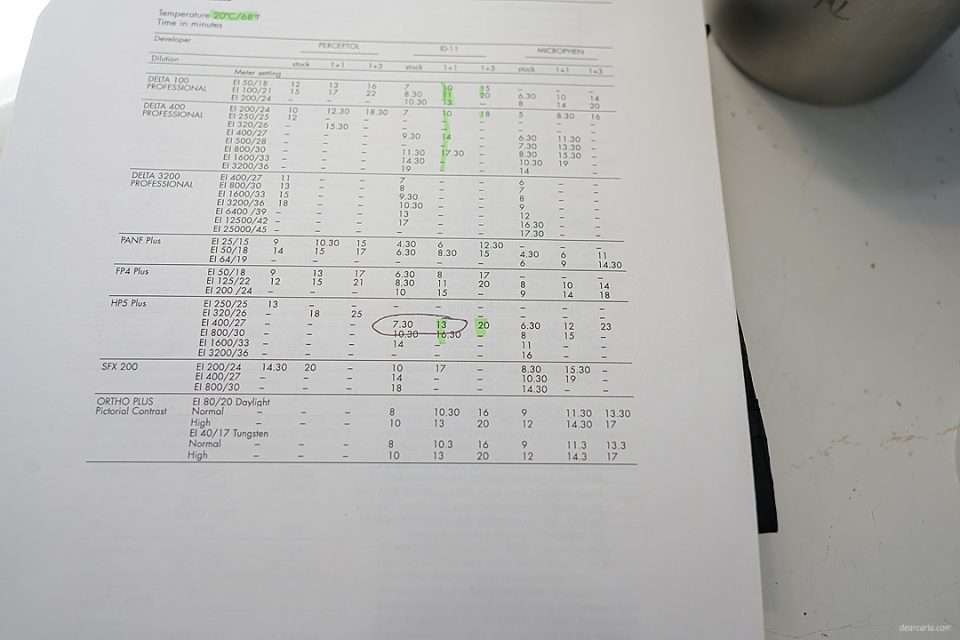
Found my developer and film in the handy info from Ilford and input that into my timer. I use the Dev It app. It’s in both app stores. It’s a really simple app and has a nice red light feature if you’re doing any printing. I’m going to be using a 1to1 ratio for my dilution so 13 minutes will be my dev time.
Everyone Into the Bag
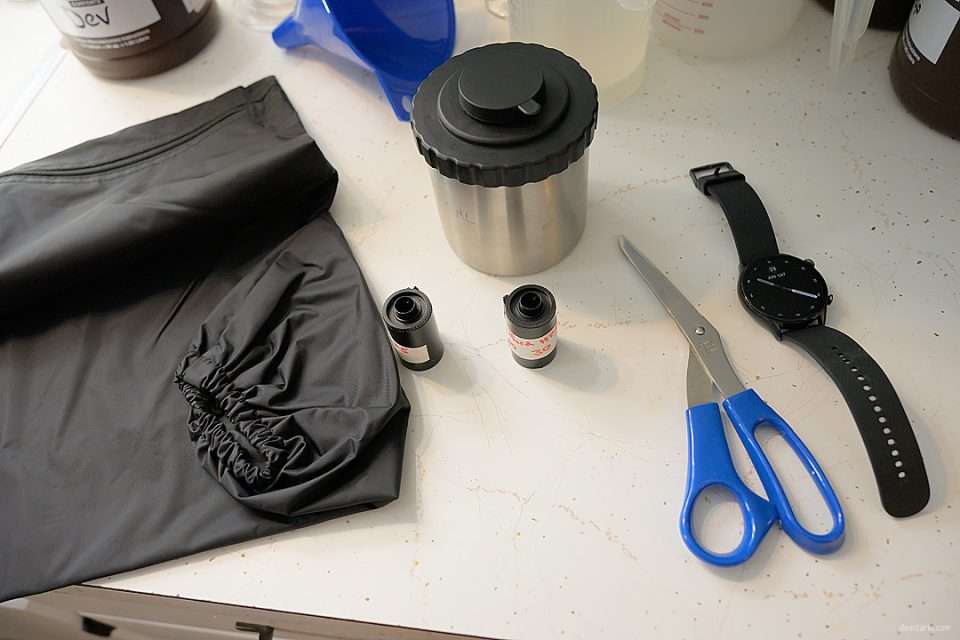
You’ll add your tank, reels, film canisters, film canister opener of your choice if you need one and a pair of scissors. Don’t forget to take off any smart devices so you don’t have light in your bag. Once inside with your arms, load your reels and close the tank lid. You are all set to add chemicals and see your images in about 30 minutes.
Test Your Fix
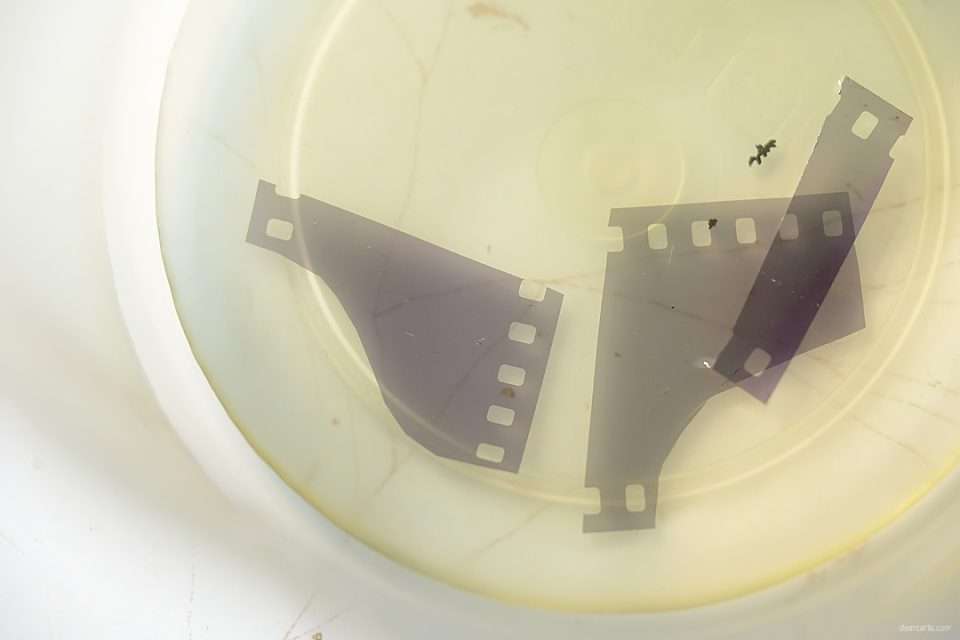
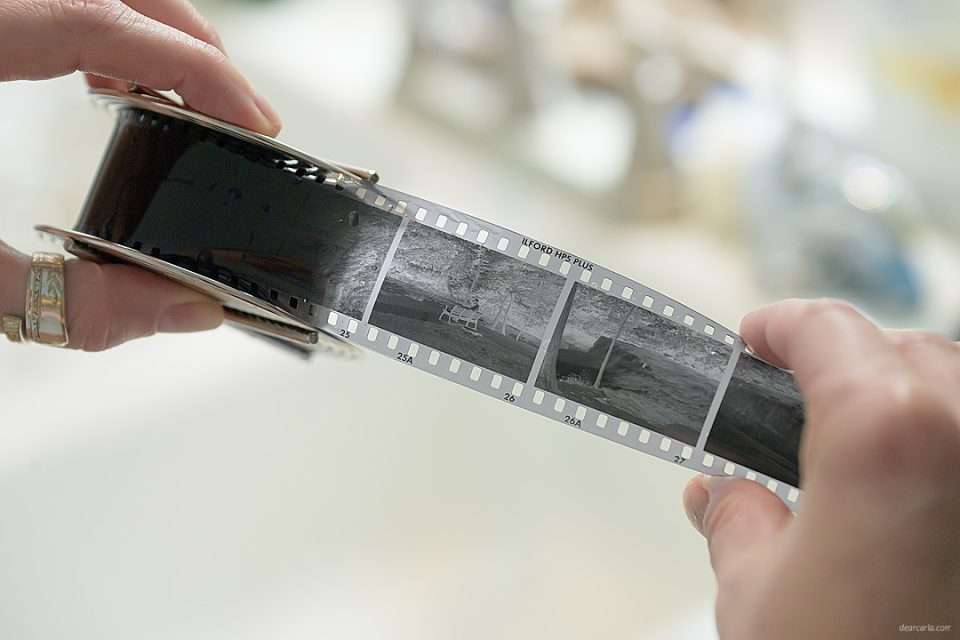
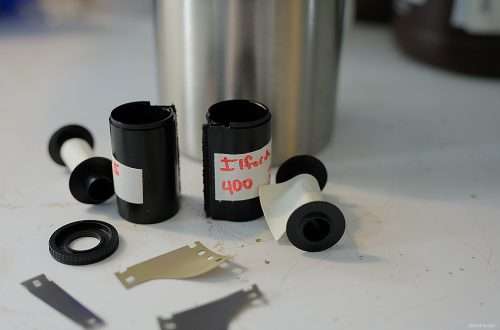
Fix is something that can go bad after a bunch of uses especially if you aren’t using a chemical stop bath. I like to test my fix and get an idea of a time for the fix step with the little bits of film leader I cut off in the dark bag. If your fix is still good then the leaders should be clear after a few minutes.
Make Up Your Dilution
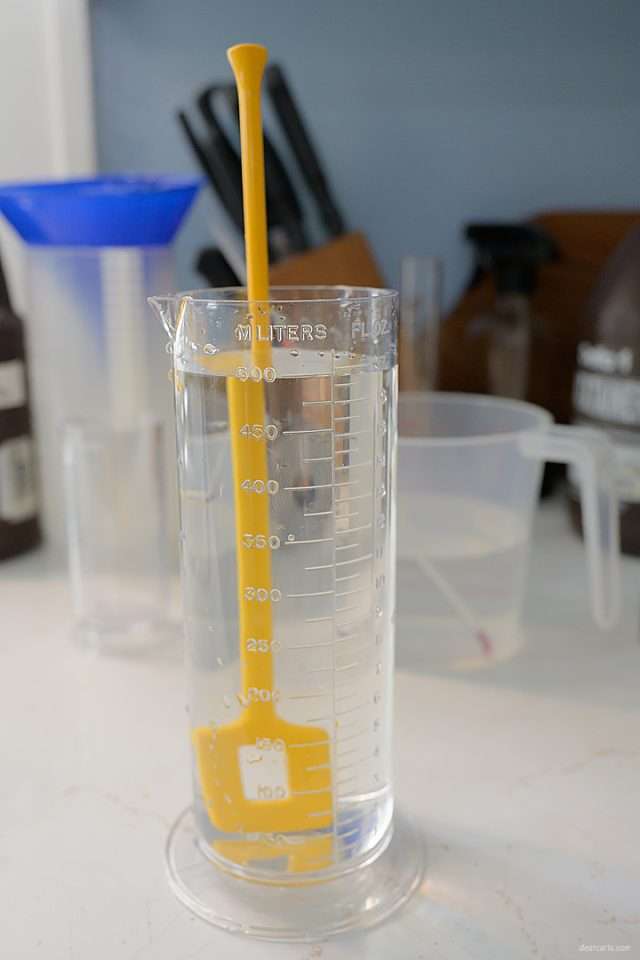
Here’s my dilution of developer. You want your tap water to be at 20 degrees celsius and left still for a bit for the aeration to settle out. Developer hates air and light and that can affect your final negative. I also have a bit of 20 degree plain water for my initial wash saved from when I was temping my water for the dilution.
Follow the Steps
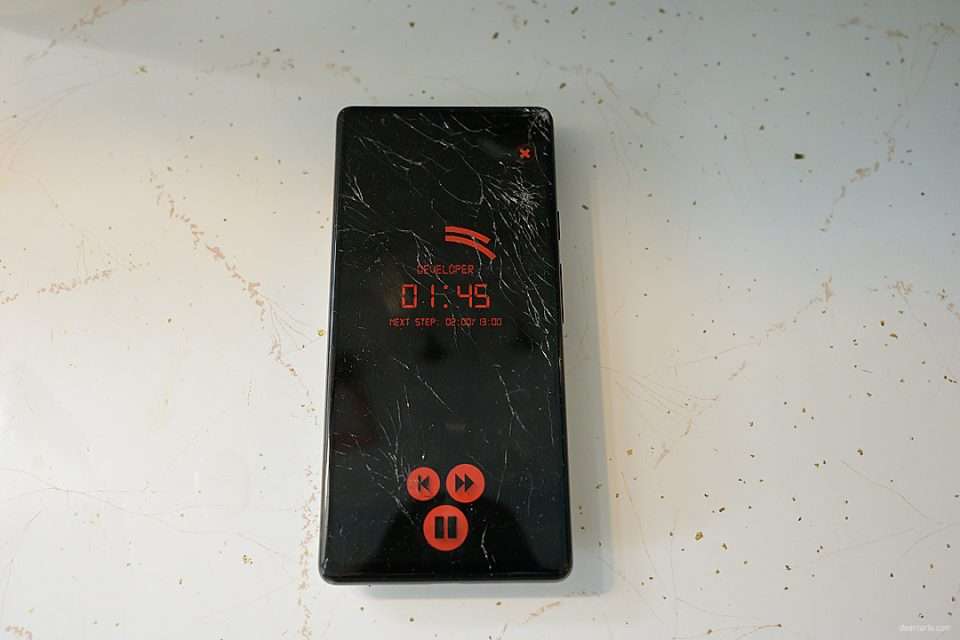
Follow your timer on a handy broken phone for when to pour out and add new chemicals for each step. I like to make sure I’m adding the chemicals in the same way for each step. For example I’ll start the timer and then add the chems to the tank but make sure to keep the chems in the tank until the timer beeps for the next step. If you add your chems first then start the timer make sure you are doing it the same way for each step. Either way works fine just pick one and stick with it. You’ll agitate the tank about once a minute or so, it depends on your developer and film but be consistent throughout the process. This developer is one time use so it can be dumped out at the end of the dev time. Your stop and fix can be reused until exhausted so put them back into your containers when the step is done.
Finally Images
Huge success you have images! Once you are on the final wash step you can pull a bit of film out to check and see if your hard work paid off. After a good wash you can hang your film to dry in a nice safe space so the images don’t get scared and move onto scanning them when dry. My scanning process is in flux so that will be another post.
Clean Up Your Things
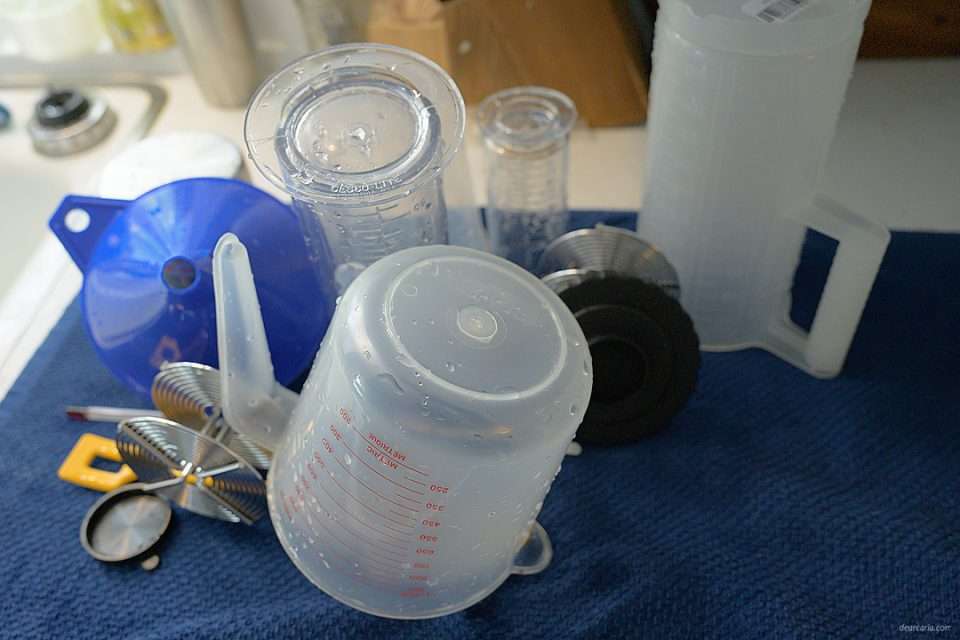
Give your tools a good clean and dry and put them away and you’re all done!
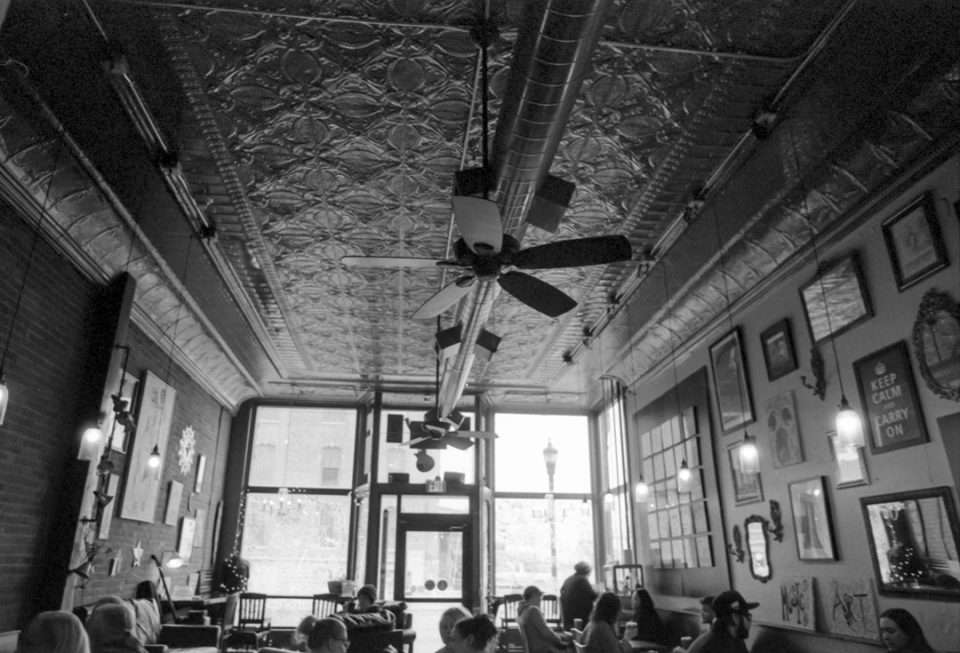
Images From the Roll
-
10 Things I Do When I Get A New Camera
I’ve had the new Nikon Zf (zf? ZF?) for about a month now and I hopefully have all my settings and customization dialed in. I thought I’d share 10 things I like to do when I buy a new camera just to make the transition a bit easier.
Re-research the Camera I Just Bought to Make Sure I Really Wanted It
The fifty million videos I watched about specs and user reviews were obviously not enough. I need to make sure I re-watch my favorite ones. Bonus- if there have been new ones made that agree with your purchase. Re-convincing myself that I didn’t do something stupid with my money is an important first step. Husband loves re-watching the videos I’ve forced him to watch on the living room TV.
Buy Lens Mount Adapters
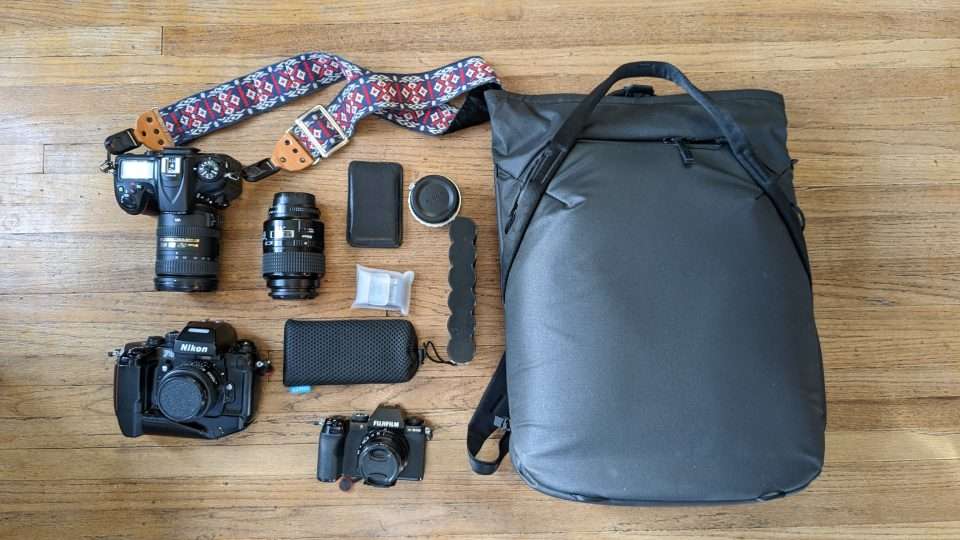
A plus of mirrorless cameras is adapting other lens mounts to your camera. I have old Pentax, Olympus, Minolta and Nikon F mount lenses around the house. Most of them are manual focus so I don’t need to get auto-focus enabled adapters. But being able to use the random Ai-S 200mm on my Nikon Zf is handy. I have adapters for my X-S10 so my collection for the Zf needs to grow beyond the FTZ-II I picked up. I love the look I get from my Zuiko 50mm 1.8 on my OM-1 so I think that will be the first one I grab in the near future.
Learn My Menus
I grew up (hahahhaha) with our Nikon D90 and D7200 so Nikon’s menus are where my heart lives. Randomly using our Sony A6000 for travel hurt my photographer heart. And even though I love my little Fujifilm X-S10 the menus confuse my middle aged brain. Digging back into Nikon’s menus to set up the Zf was easy and smooth. All I had to do was catch up with the new additions to the menu because of the mirrorless and auto-focus upgrades between the D7200 and the Zf.
Buy A New Camera Bag
What better accessory for a new camera than a new camera bag. Forget that I have four others, the obvious thing to do is buy a new one. There is something currently wrong with each bag I own and a new bag will solve all my problems. I have learned from my camera bag buying is that I do not like backpacks, that I need something bigger than 3 liters and I do not like square boxy bags. Until I find the perfect new camera bag I will be forced to use the worst bags ever with my new camera.
Buy More Peak Design Anchors
I have firmly lodged my camera strap into the Peak Design ecosystem. I love these little anchors. I have two of the Peak Design straps and love being able to quickly switch between cameras. I have them on everything from my Yashica 124G to my Nikon F4 and the new Zf.
Get An Extra Battery and A New Memory Cards
Cameras today barely come with a charging cable. The Zf had a cable for USB-C charging and that was it. I picked up a charging brick along with a spare battery to get through an outing. All that’s left for me to add to the power consumption and charging, is an outside the camera battery charger. But I’ll wait until the current setup bugs me enough. I do also like to pickup fresh cards for my new cameras. The Nikon Zf uses a dual slot setup of a SD card and a micro SD card so I picked up two of each of those for redundancy. Watch the write-to speeds and make sure they are the same, because, reasons.
Stalk Craigslist and Facebook Marketplace for Lenses
I like to buy vintage lenses. I like being able to use my lenses on my old Nikons and the new Zf. I spend some time looking around Craigslist and Facebook marketplace for older cameras and lenses. Then I abandon my search and head up to West Camera or National Camera Exchange to buy new or used gear. I also torture myself on eBay looking at lenses but that takes too much patience. Currently I’m making myself wait to buy a Z 24-120mm or a Z 28-75mm. I wonder how long I can wait till I buy a native macro lens.
Research a Completely Different Camera to Buy
Now that I’m set with the perfect camera it’s now time for a manufacturer to come out with one slightly better and newer. Now my brain will go into goddamit mode and buyers regret will appear. To fix that problem I go out and shoot as much as I possible can and remind myself why I fell in love with the setup I currently have and how much money I will save by staying with what I have. But that won’t stop me from bingeing on YouTube videos of new cameras and researching the hell out of them, hello OM-System.
Use DP Review* to Compare My New Camera to My Old Camera
*What’s left of that site, anyway?
DP Review camera compare is (?) was (?) a great place to compare specs. It helped me choose the Fujifilm X-S10 when it first came out and I’ve been happy with that choice. Being able to side by side compare two choices really helps when you want to avoid the what-ifs in buying a camera. That being said once I have a new camera it’s fun to look back and compare your old cameras to the the new one, especially if you traded-in your old camera.Scour KEH For a Film Camera to Buy
Or eBay, or Craigslist, or Facebook marketplace, or or or or. GAS is never ending and film photography GAS is even harder to resist sometimes. Did someone in a video or an article somewhere mention an underrated film camera. Off to look for one for yourself. Forget about the multiple thousands of dollars you’ve spent on a new fancy digital camera, my monkey brain wants what that person has and film cameras are cool! I usually combat this urge by placing things in shopping carts soon to be abandoned. My wallet thanks me and I can once again feed my family.
-
Using the Nikon F2 Photomic and Nikkor 200mm AI
Giving My F2 Photomic a Little Exercise
I love using my F2, I found this camera on FB marketplace from a local who used it to photograph swim meets. He had the standard 50mm AI lens and a lovely 200mm AI too. I think I picked them up for around $150 a few years ago. I’ve mostly kept the 50 on it and haven’t had a chance to use the 200. The shots in the post are dev’d and scanned at Boutique Film Lab.
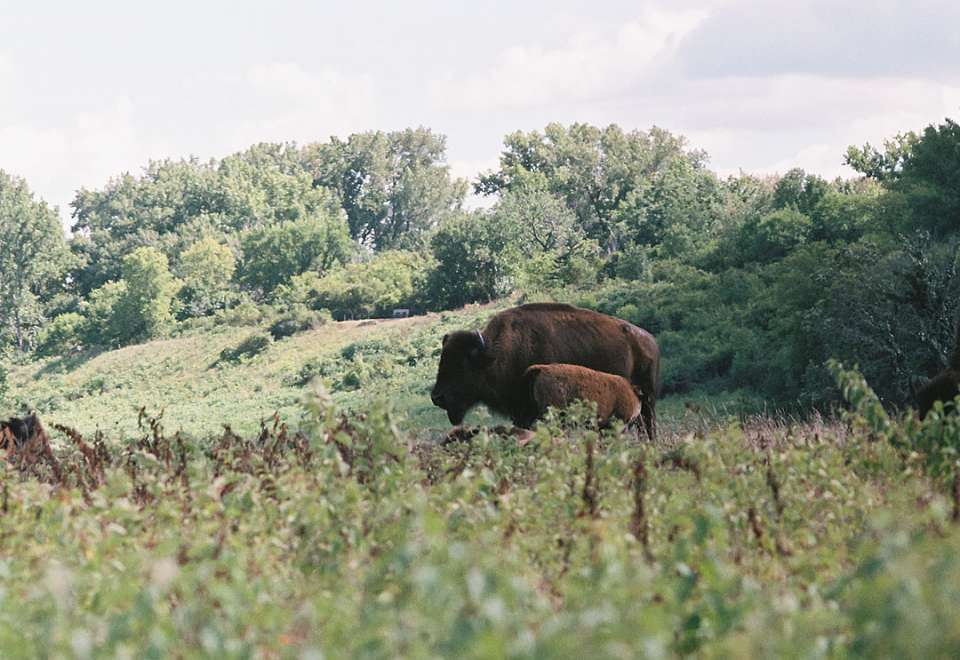
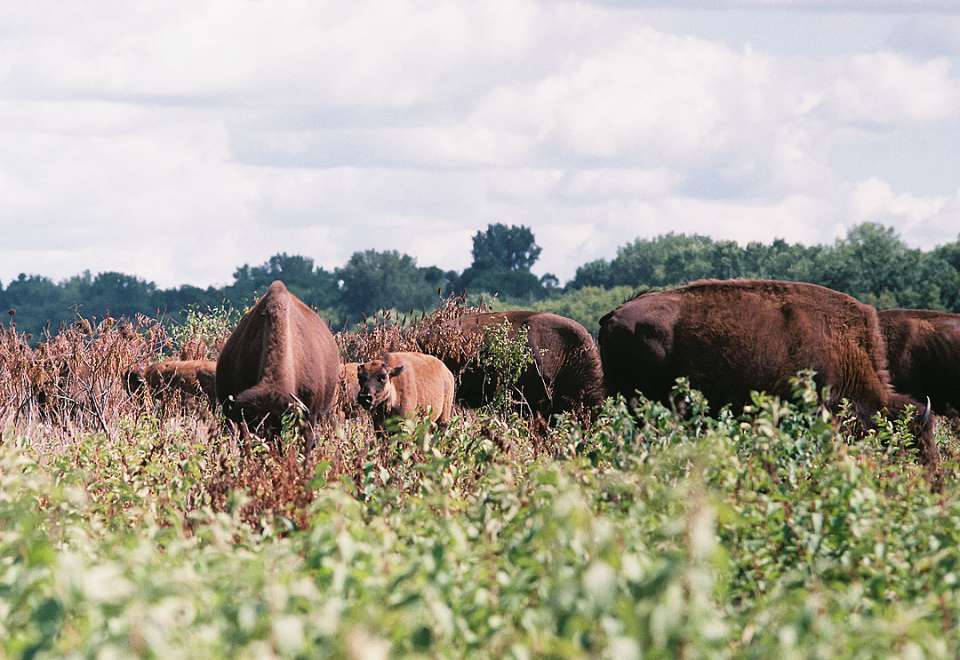
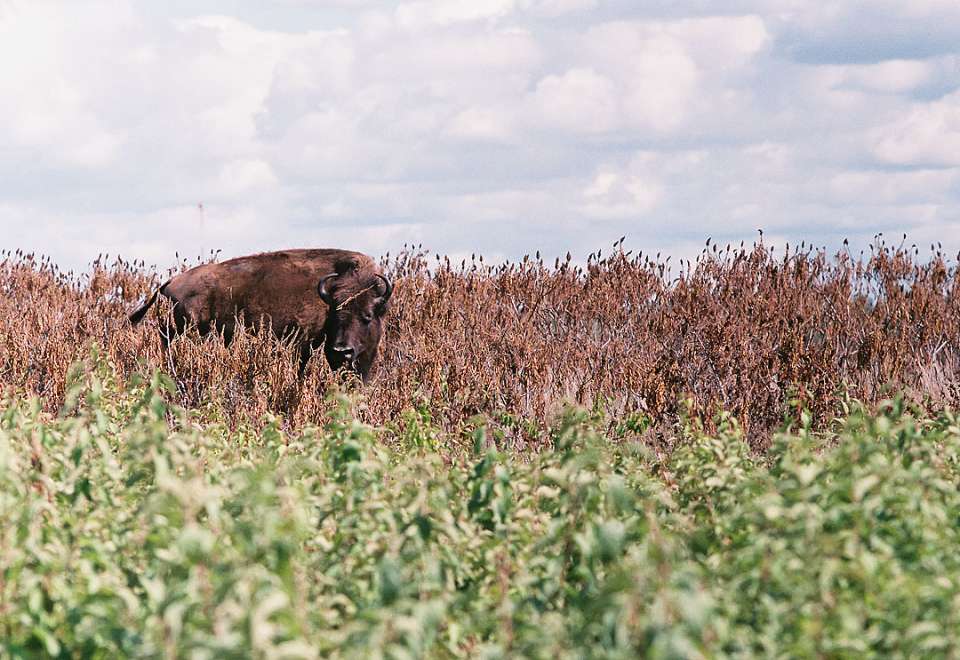
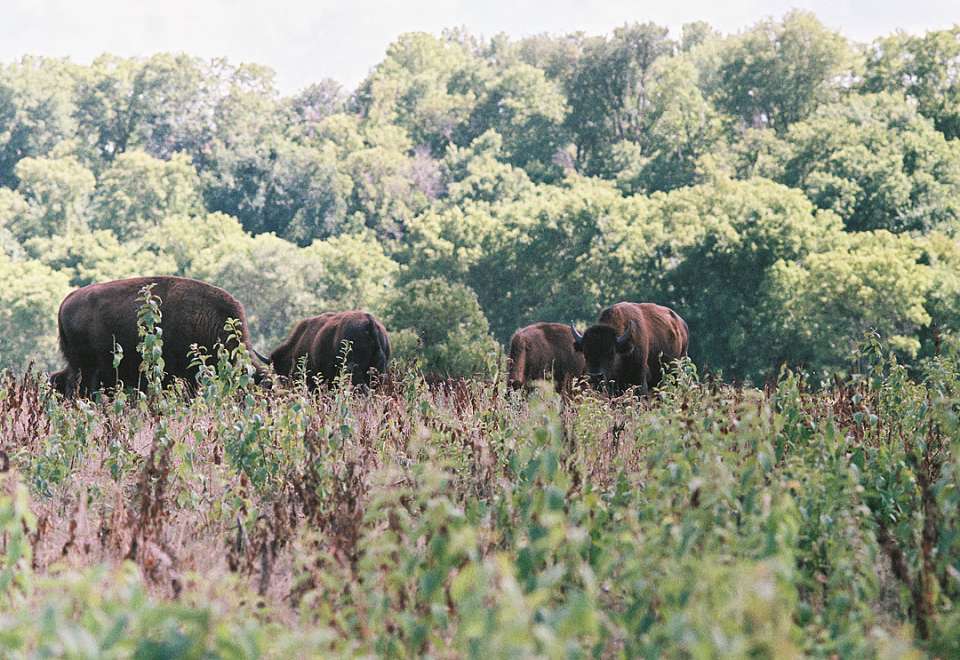
Decided to take it out and see if I could get some good shots of the Minneopa Bison Herd that are nearby.
I’ve had mostly Superia 400 laying around so that’s what I popped inside and off I went. Viewing the herd can be hit or miss as they have a large enclosure that you can drive through. I’ve had them leap out in front of my vehicle suddenly, seen them lounging in the mud, and right up against the fence on a hike around the enclosure. One is not guaranteed a shot or even seeing them.
I definitely should have driven my taller vehicle to get a vantage over the tall prairie grasses.
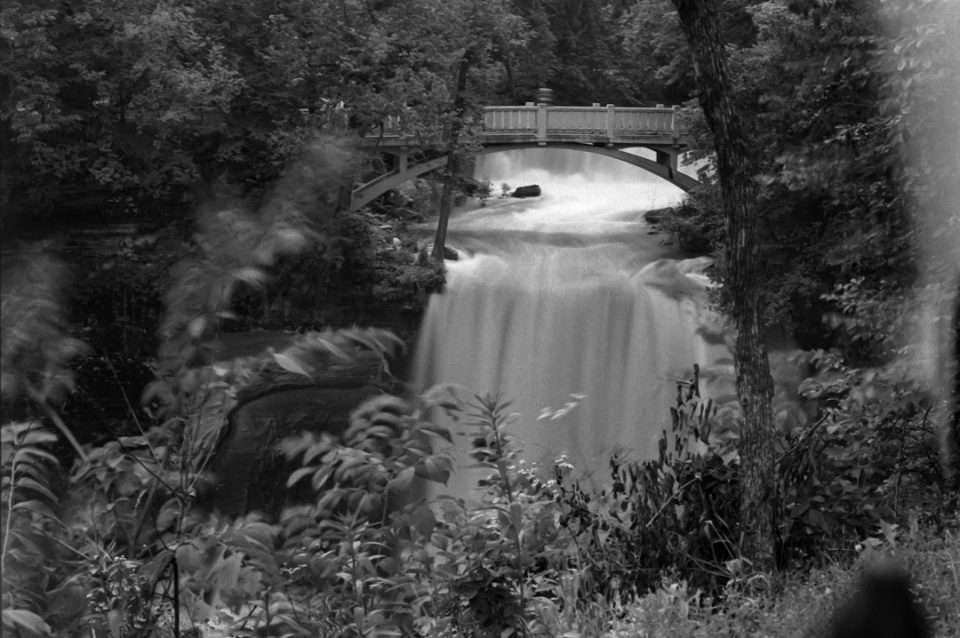
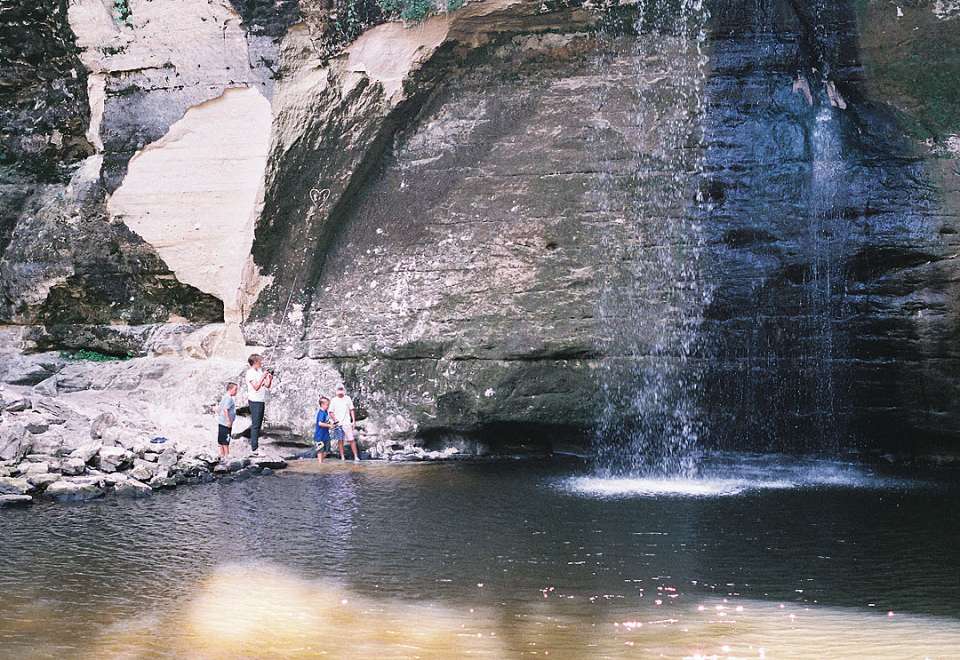
The herd moved on out of reach of my 200 and so I went down to the falls part of the park and took a couple shots in the ravine.
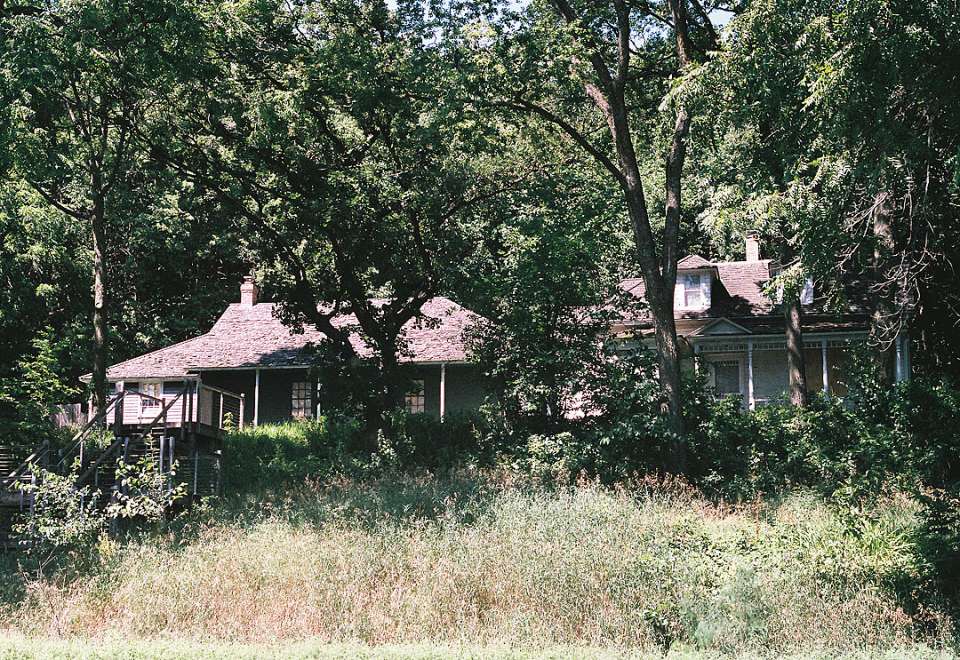
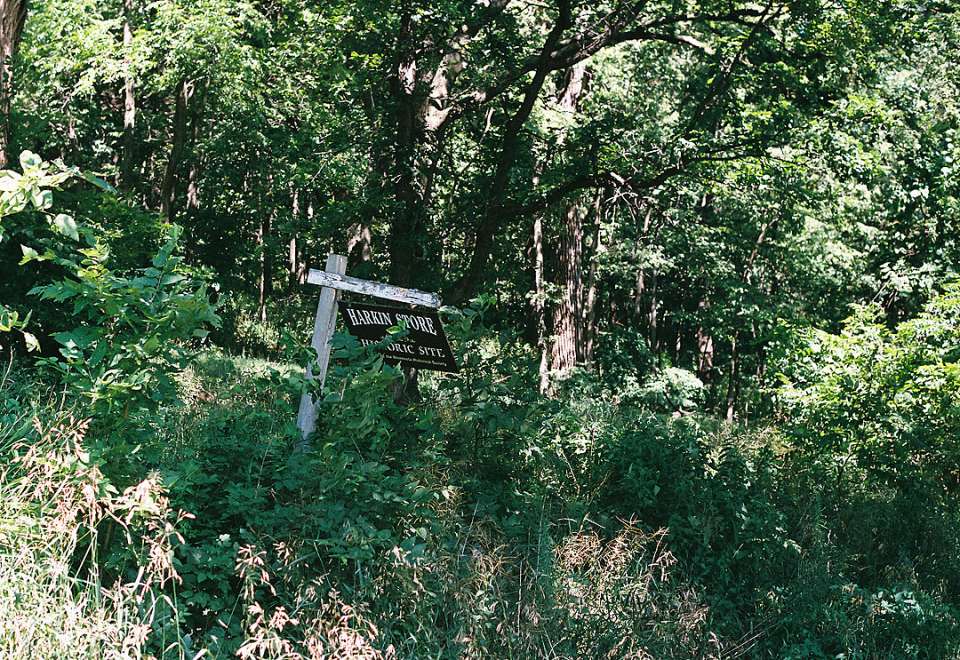
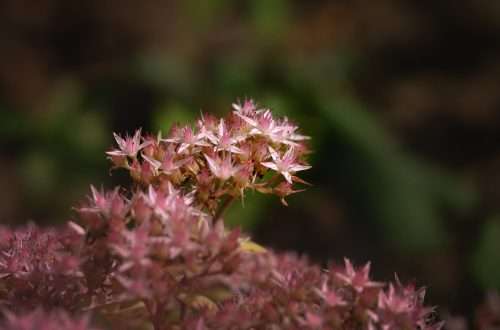
Decided to head out to Fort Ridgley State Park to roast ourselves in the sun and get lost on the multitude of trails but only took some shots of the old Harken Store that’s unfortunately closed.
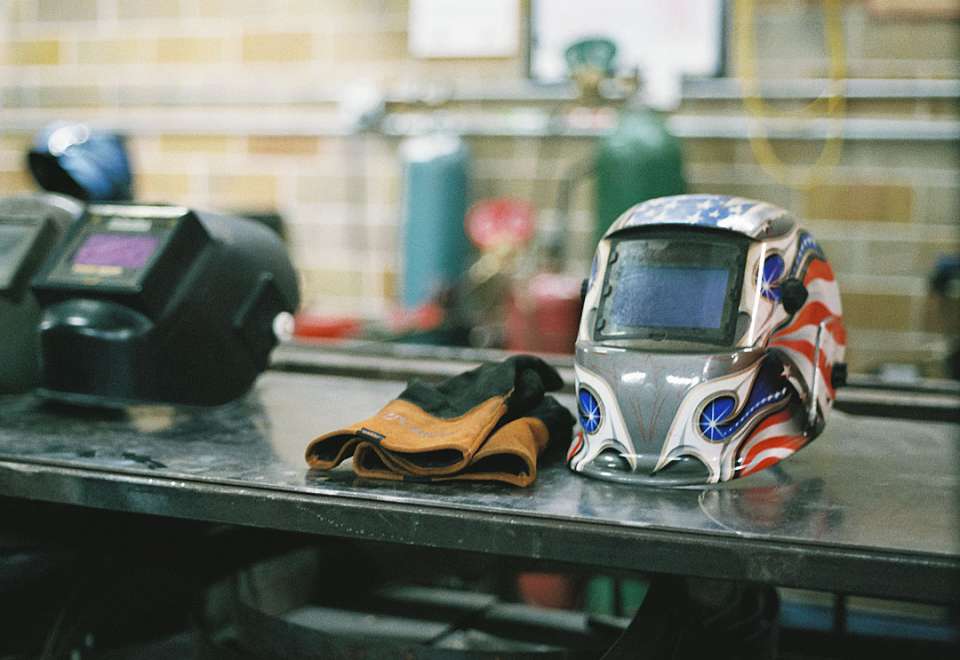
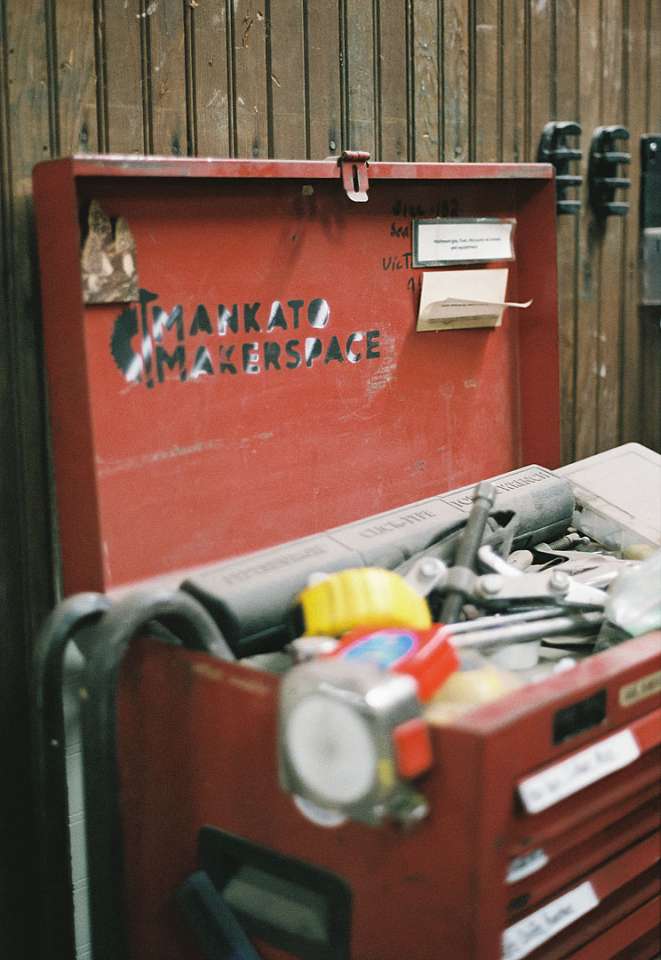
I also took a welding class at the Mankato Makerspace and brought the F2 with to fill up the roll.
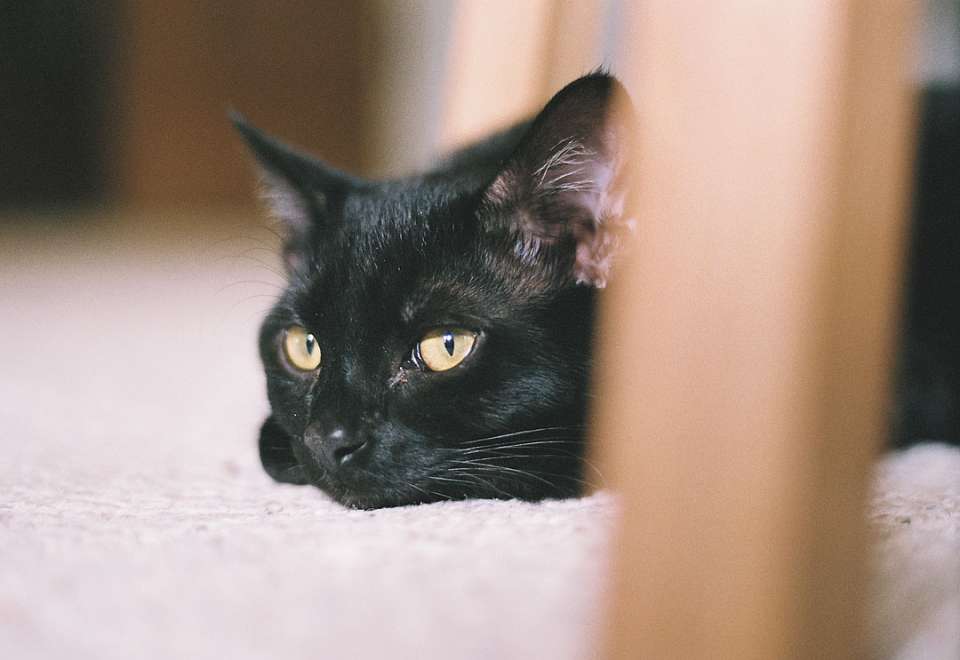
I had a few shots left on the rolls so of course there are cat photos. Loki is 6 months old and sometimes sits still enough for manual focus.
-
Minolta HiMatic 9
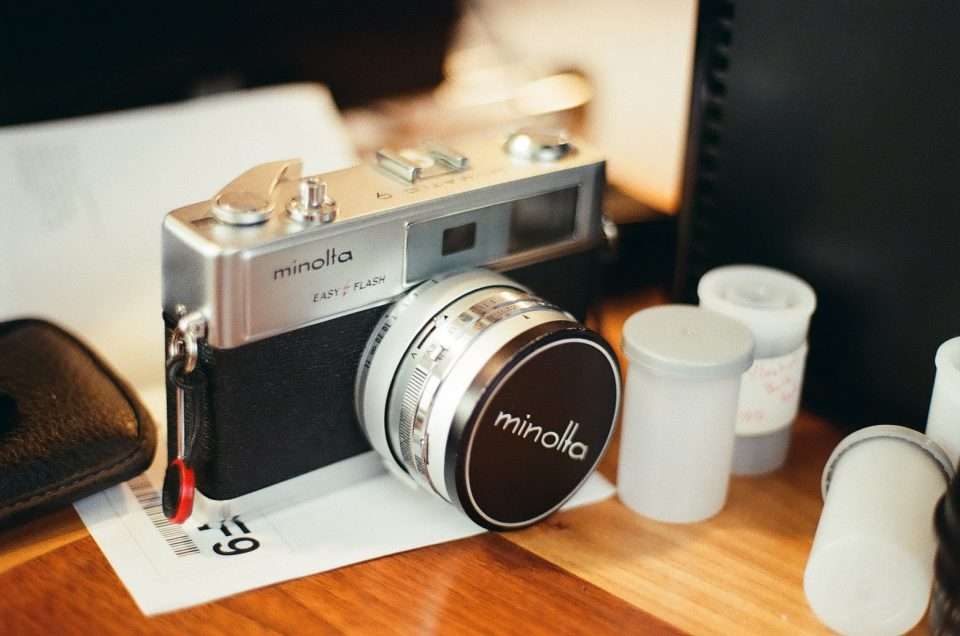
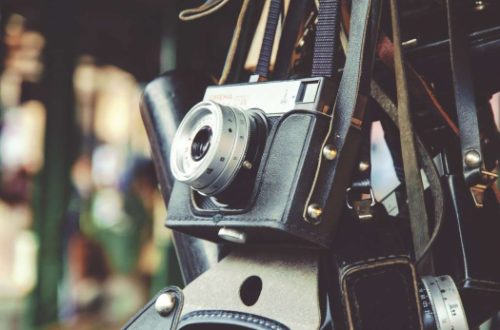
Here is a photo of my newest camera. It’s a Minolta Hi-Matic 9 with Easy Flash. I purchased it from the original owner after he had posted it for sale on Craigslist. He had picked it up in a department store in Minneapolis in the late 60s. I’ve cleaned it up a bit, put a fresh battery in it and loaded it with some expired film I found cheap at a thrift store.
I went with the Wein cell battery replacement since I plan on using the automatic setting a bit and didn’t want the meter to be reading off. I should have bought two batteries as my Minolta SR-7’s battery has died in the year since I put a new one in.
Here’s the Camera Wiki page on the camera. I’ve got to get used to the rangefinder focusing but I’m sure it will be a fun little camera. I think I’ll shoot this first roll on the automatic setting to see how well it works. Hopefully I’ll be getting some fresh film for xmas to really put the camera to the test.
The camera has a nice weight to it but not to heavy for my aching hands/arms. The metal is very smooth and it’s a bit of work to adjust the rings for the shutter and aperture. The film advance lever does have a huge throw so keeping it up to your eye and advancing will take some practice.
-
Testing away
Yesterday I got a three rolls developed and scanned! I feel so accomplished!
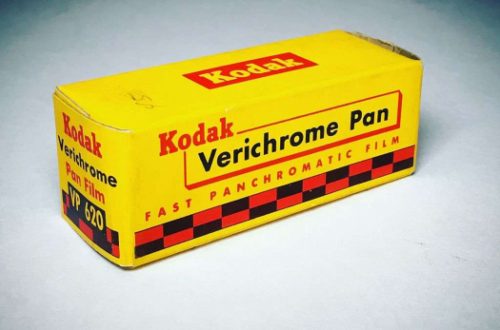
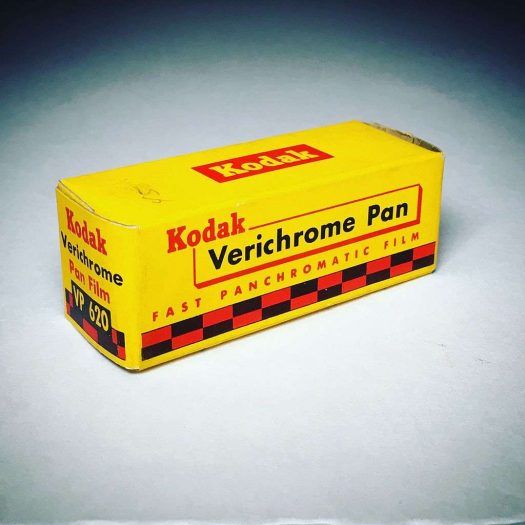
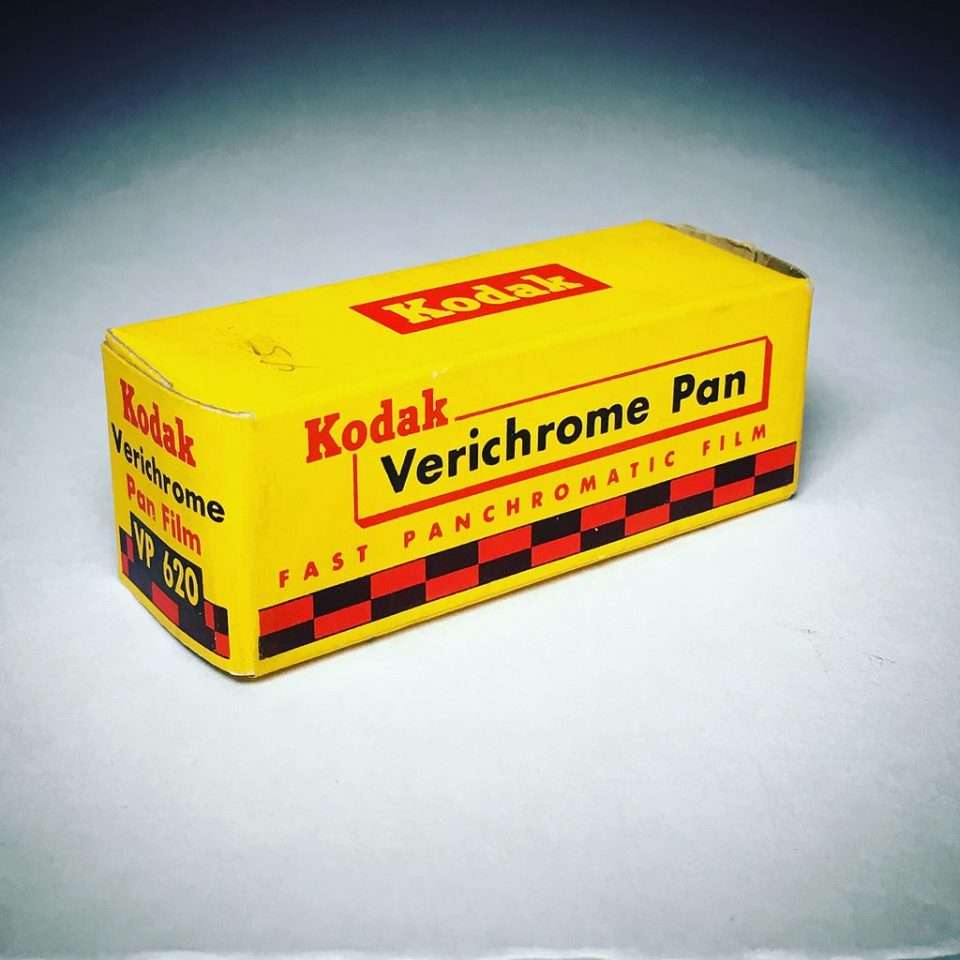
I bought a 120 roll of expired Kodak Verichrome Pan 125 at an antique store nearby and ran it through the Yashica 124G. This was the second roll I shot through this camera and it is so fun to shoot! Right now I’ve got a roll of Portra 160 in it that I think I’ll use up for my dad’s family xmas this weekend.
I also developed a roll of Fuji Superia that I put through my new Nikon F100 to give that a test. I’ve been very happy shooting the F100. I think I will sell the N8008s since I don’t need two similar Nikons. I really appreciate the autofocus on the F100 and like that it sits at nice place in the Nikon film lineup to use newer and older lenses.
I decided to put an expired roll through my new HiMatic 9 to see if it had any light leaks. When I opened up the back to clean it up a bit after I got it home there was some bits of seal loose. But it looks like nothing to big was missing.
Developing was a nice time in the darkroom. I got a chance to clean up a few things and move one of the enlargers out to sell at a gear swap this weekend. A real comfort was having the space heater in the room that we picked up. I gave myself a refresher on color development with the roll of Superia and old Kodak Gold.
The old roll of Verichrome Pan was a huge what if. It expired in 1972 and I shot it at ISO 6 after some internet research I decided that my Ilfosol 3 might just work. I shortened the time and lowered the temp by a few degrees and I got the shots!
-
New experiment
Picked up a roll of 46 year expired 120 film at an antique store. I’m going to run it through my Yashica and see how it goes. This guy had already shot and developed some a few years older. Just need to order some Rodinal for stand development as I only have Ilfosol3. This should be fun.